
Building the QK65 Wireless keyboard: Part 1
Welcome back to our series on mechanical keyboards! Today, we will be diving into the building process of the QK65 keyboard that I previously mentioned in one of my posts.
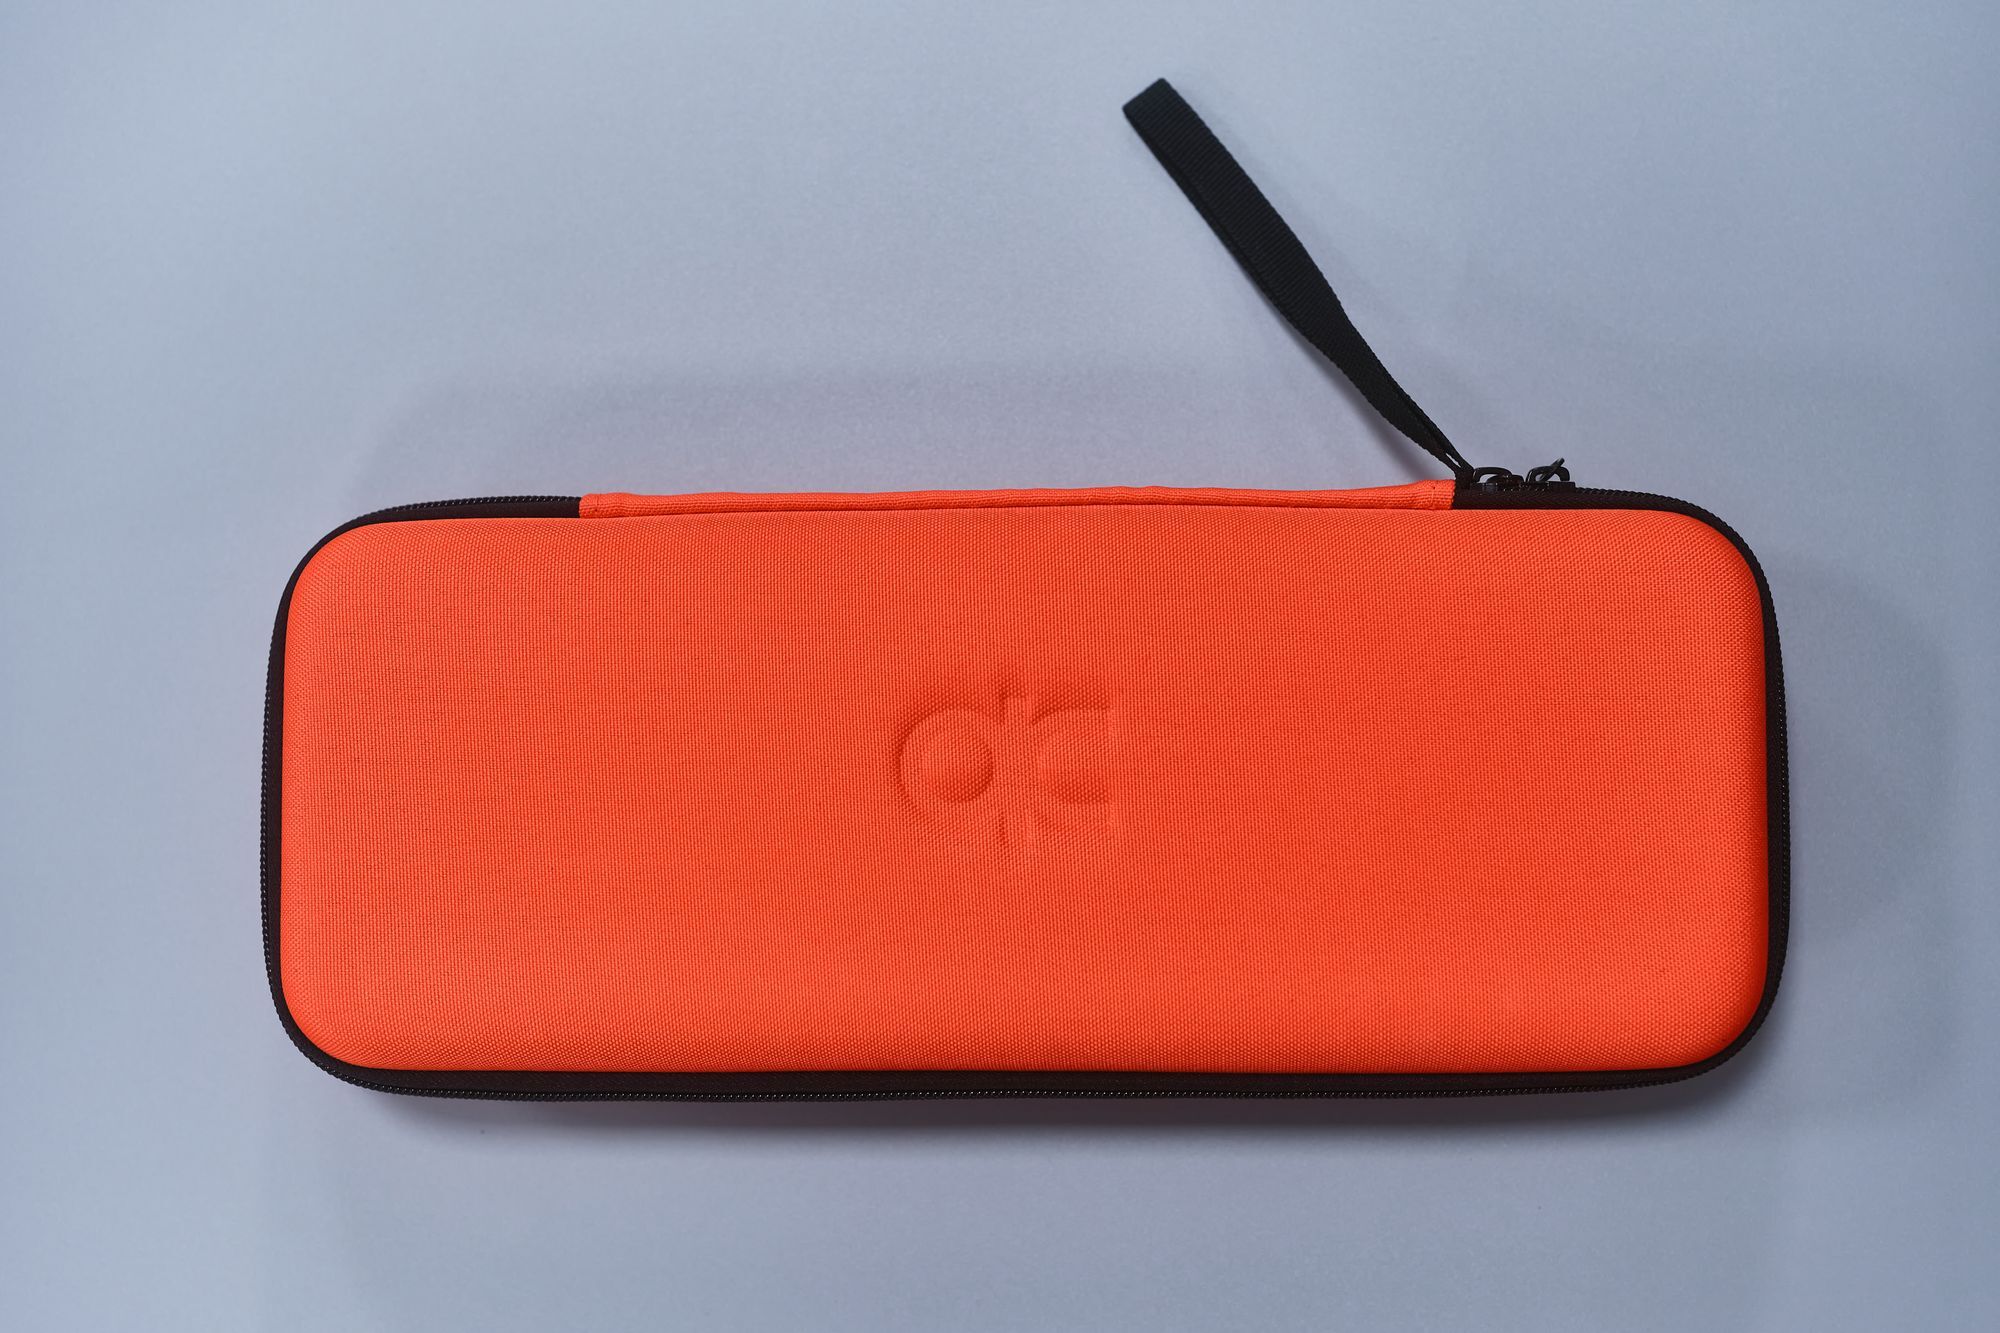
I have ordered the QK65 a while ago during Round 2 (around June '22) and I’ve been waiting for a lot of other pieces to arrive to complete the build. I am now excited to share my experience building it.
This keyboard is one that I highly recommend for those who are new to the hobby and looking for a quality, budget-friendly option.
In this post, we will be going through the build guide step by step and I’ll try to add as many pictures as I can. So, let’s get started!
QK65 Content list
Let’s take a look at everything that comes inside the box.
- Case: top, bottom and weight
- Plate (POM = white), PCB foam, sheet and PCB
- Silicone pad and case foam
- Battery and 2.4Hz dongle
- Gaskets: 2 types of socks
- Rubber feets
- Coiling cable
- 3-head screwdriver
- Optionally: stabilizers
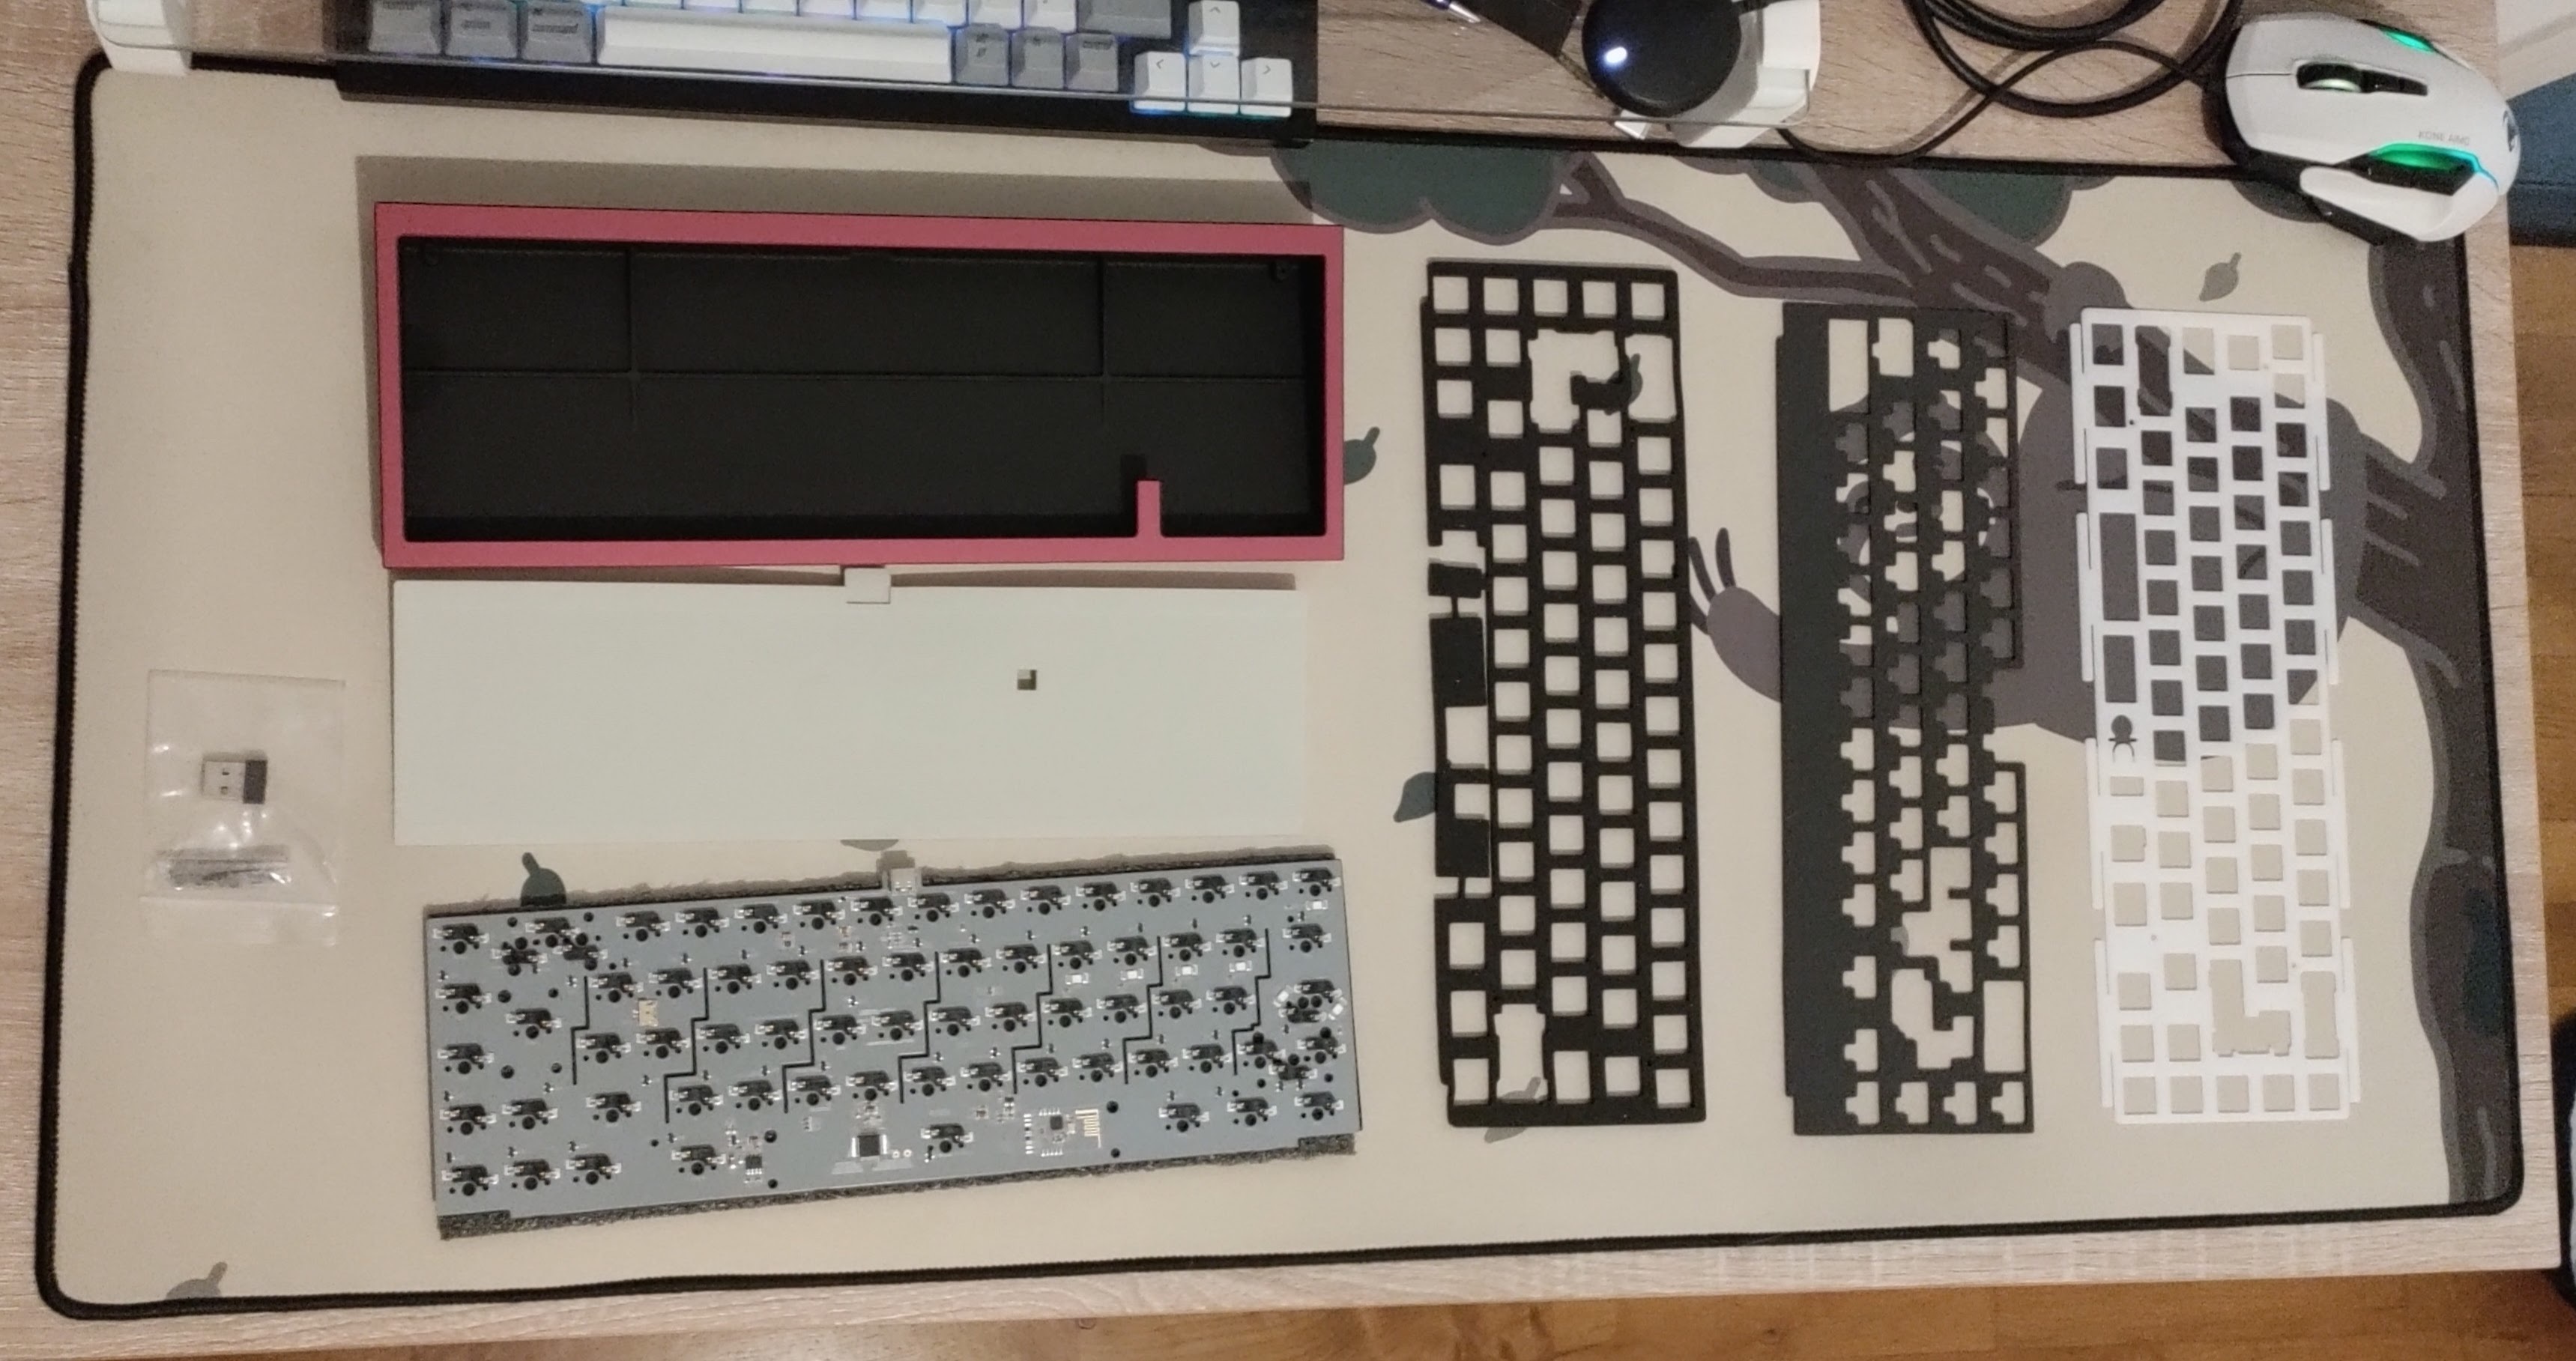
Here’s everything unpacked on my desk
You can also find details on what’s included inside the build guide on QK’s notion site.
Not included / what i bought on the side
- Durock v2 stabs (QK wasn’t supposed to include some)
- Lube (krytox 205g0) for stabs housing
- Lube (dielectric) for the stabs metal rods
- Gazzew Boba U4 silent 62g switches
- Keycaps (bought GMK Sloth and Osume’s Year of the tiger, i’ll try both)
Build
To build the keyboard, we will simply follow instructions from the build guide:
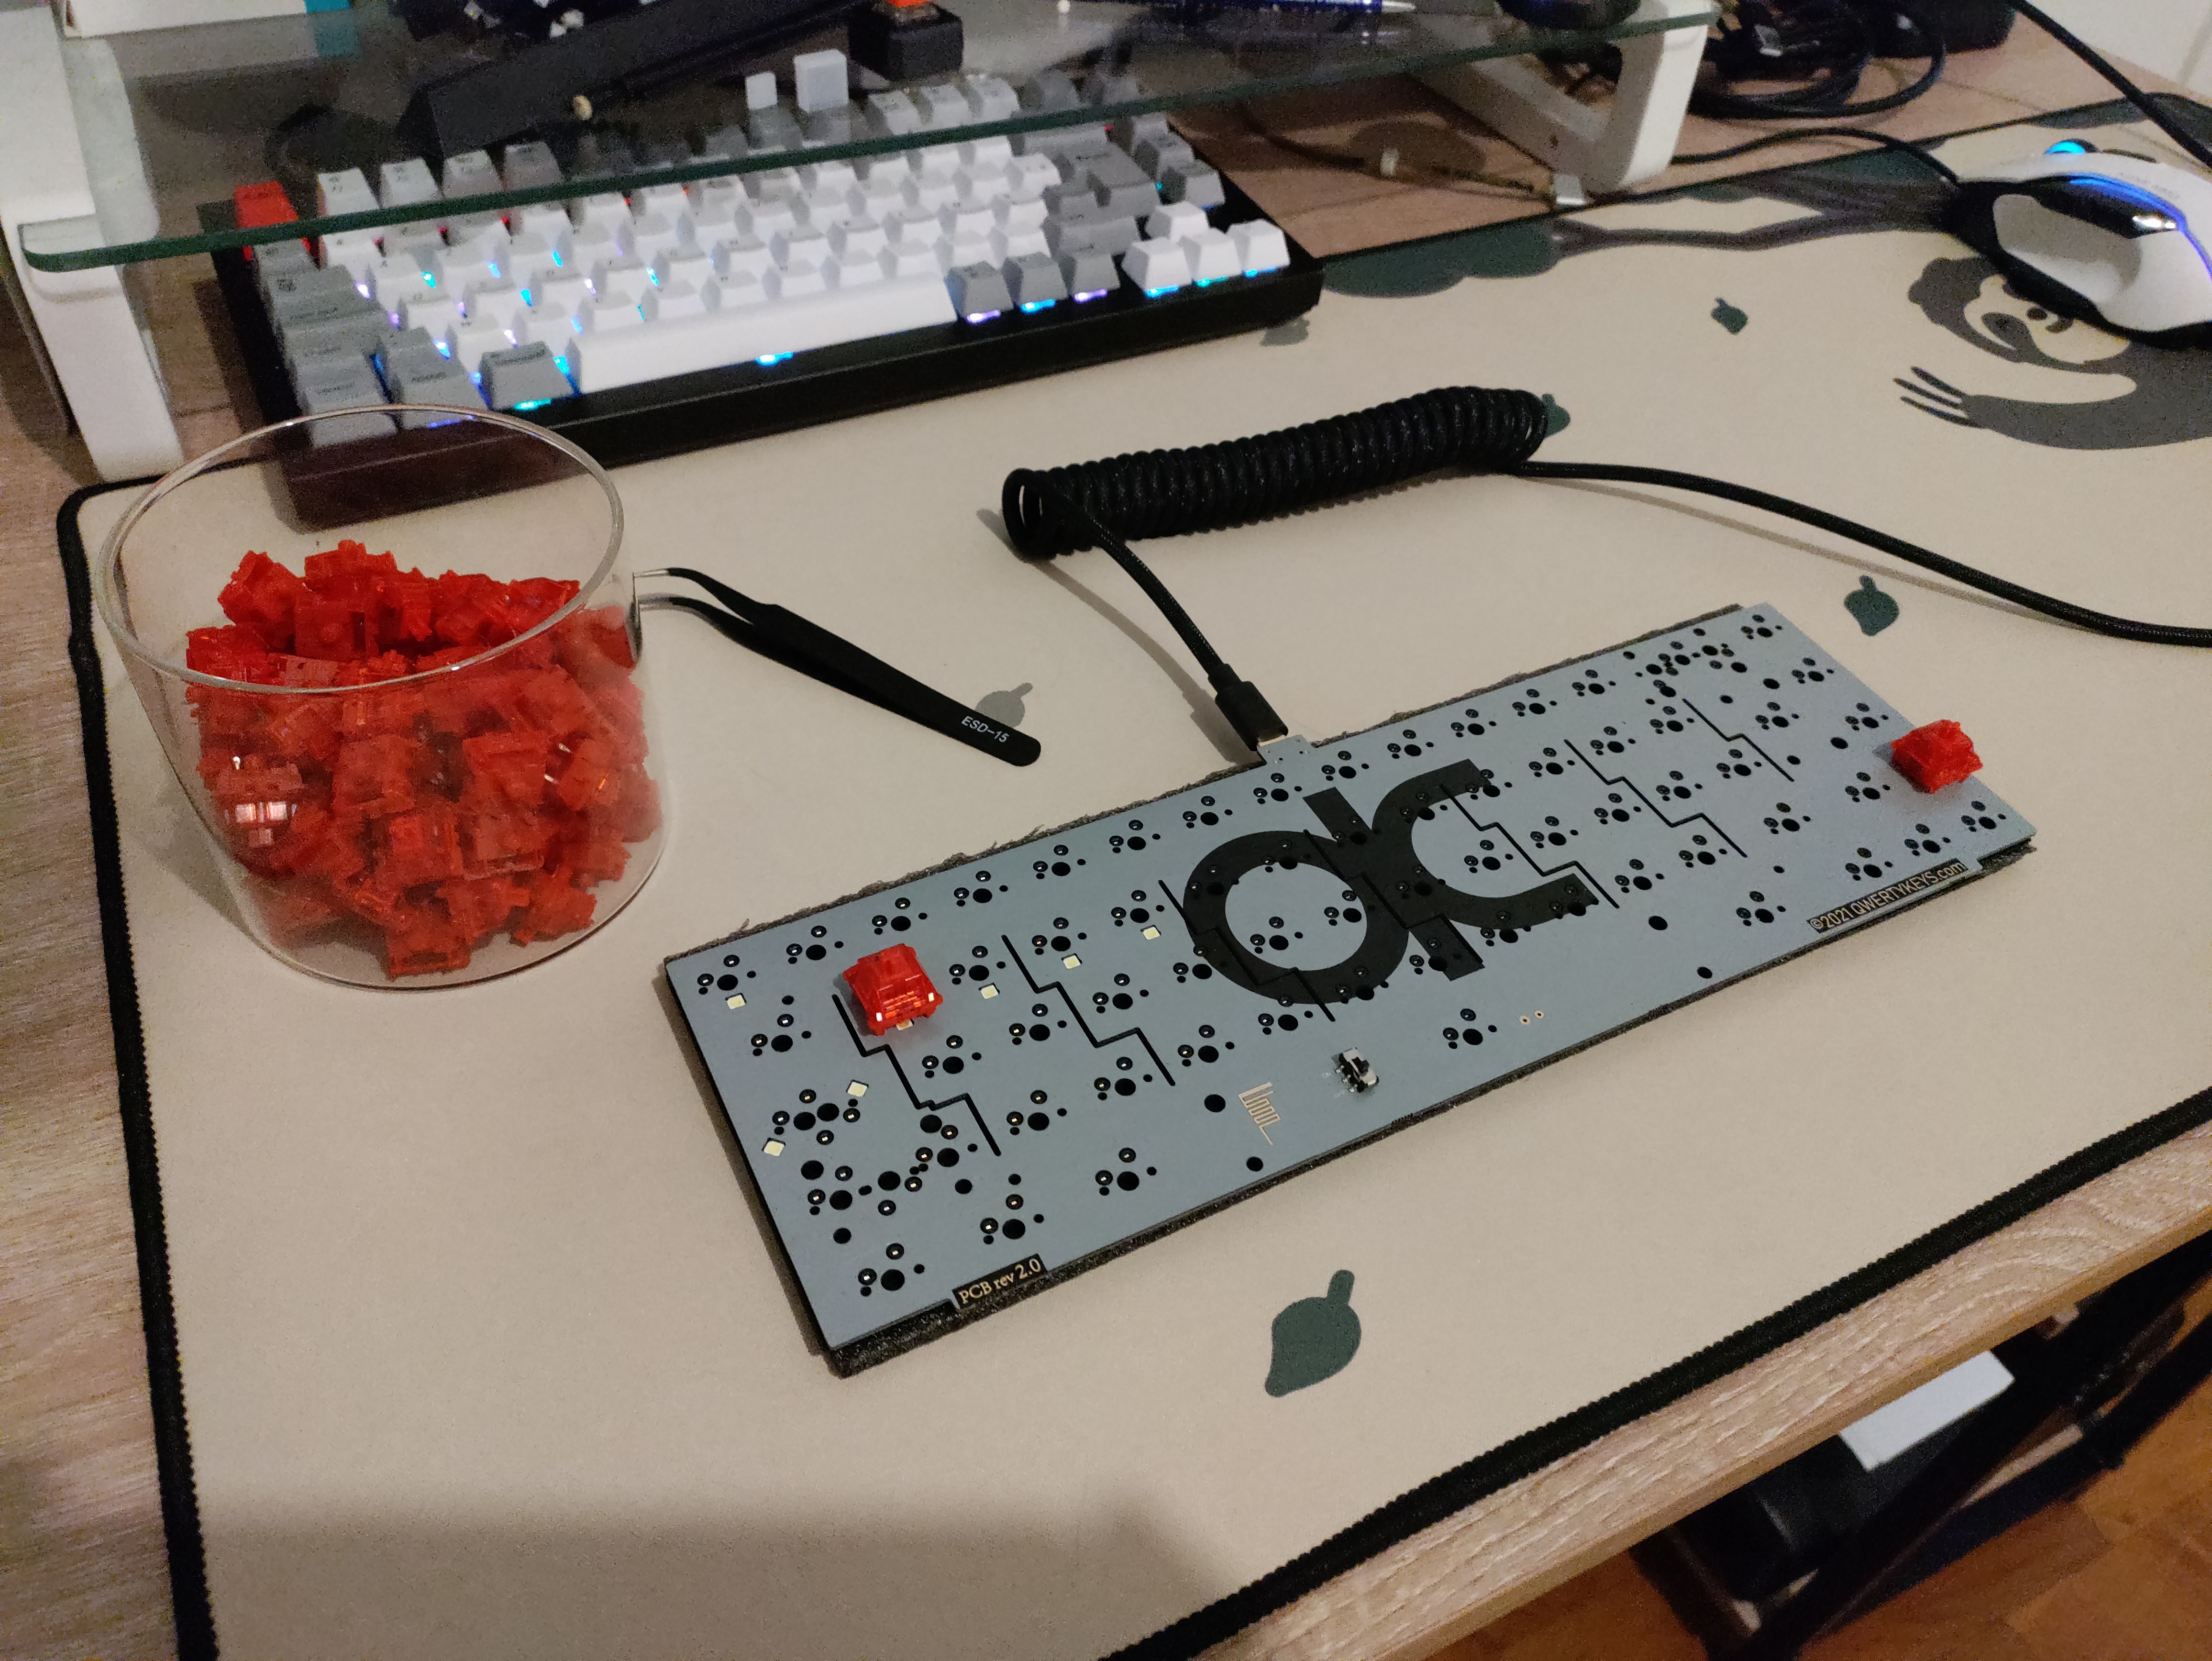
1st step: test the PCB and the wireless connection
Download the 1st use firmware from qwertykeys and launch it to initialize the PCB.
Temporarily install switches on “fn”, “tab”, and “QWER” keys, these are the only keys we need so far.
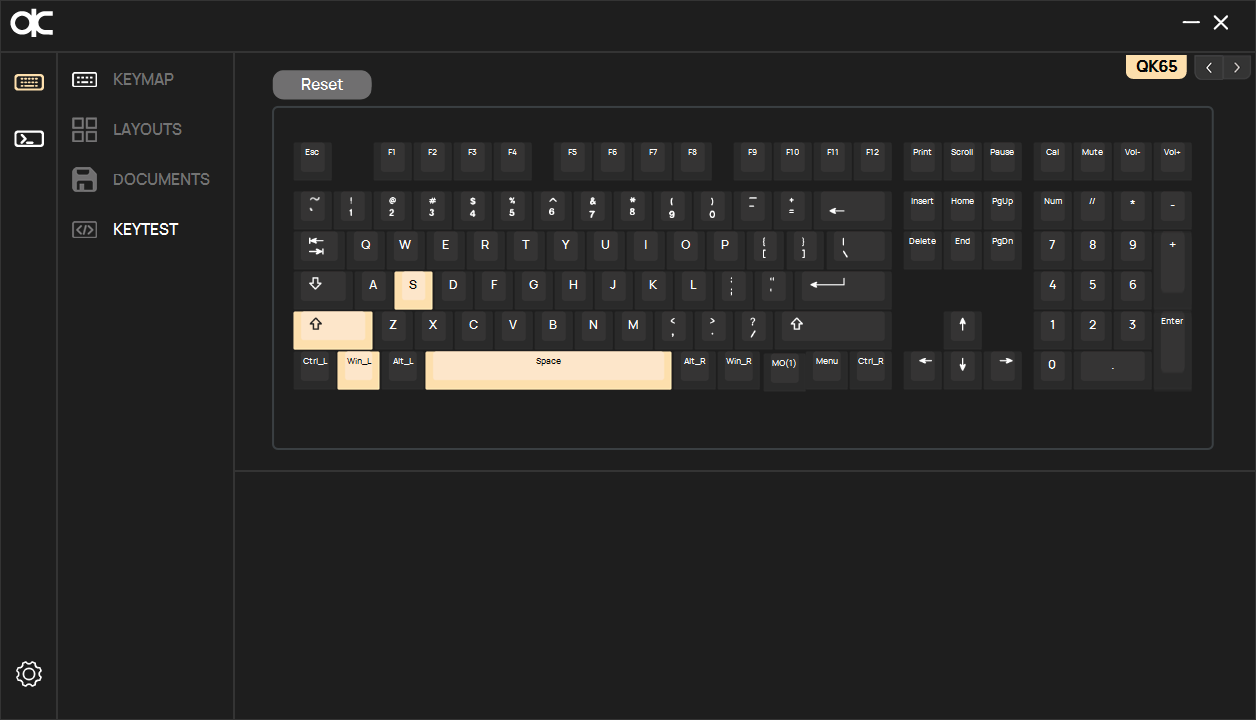
Download the qk config and keytest software, then flip the PCB and insert tweezers in the sockets
(I ordered ISO PCB, the soft doesn’t match the layout but I can still see keys light up)
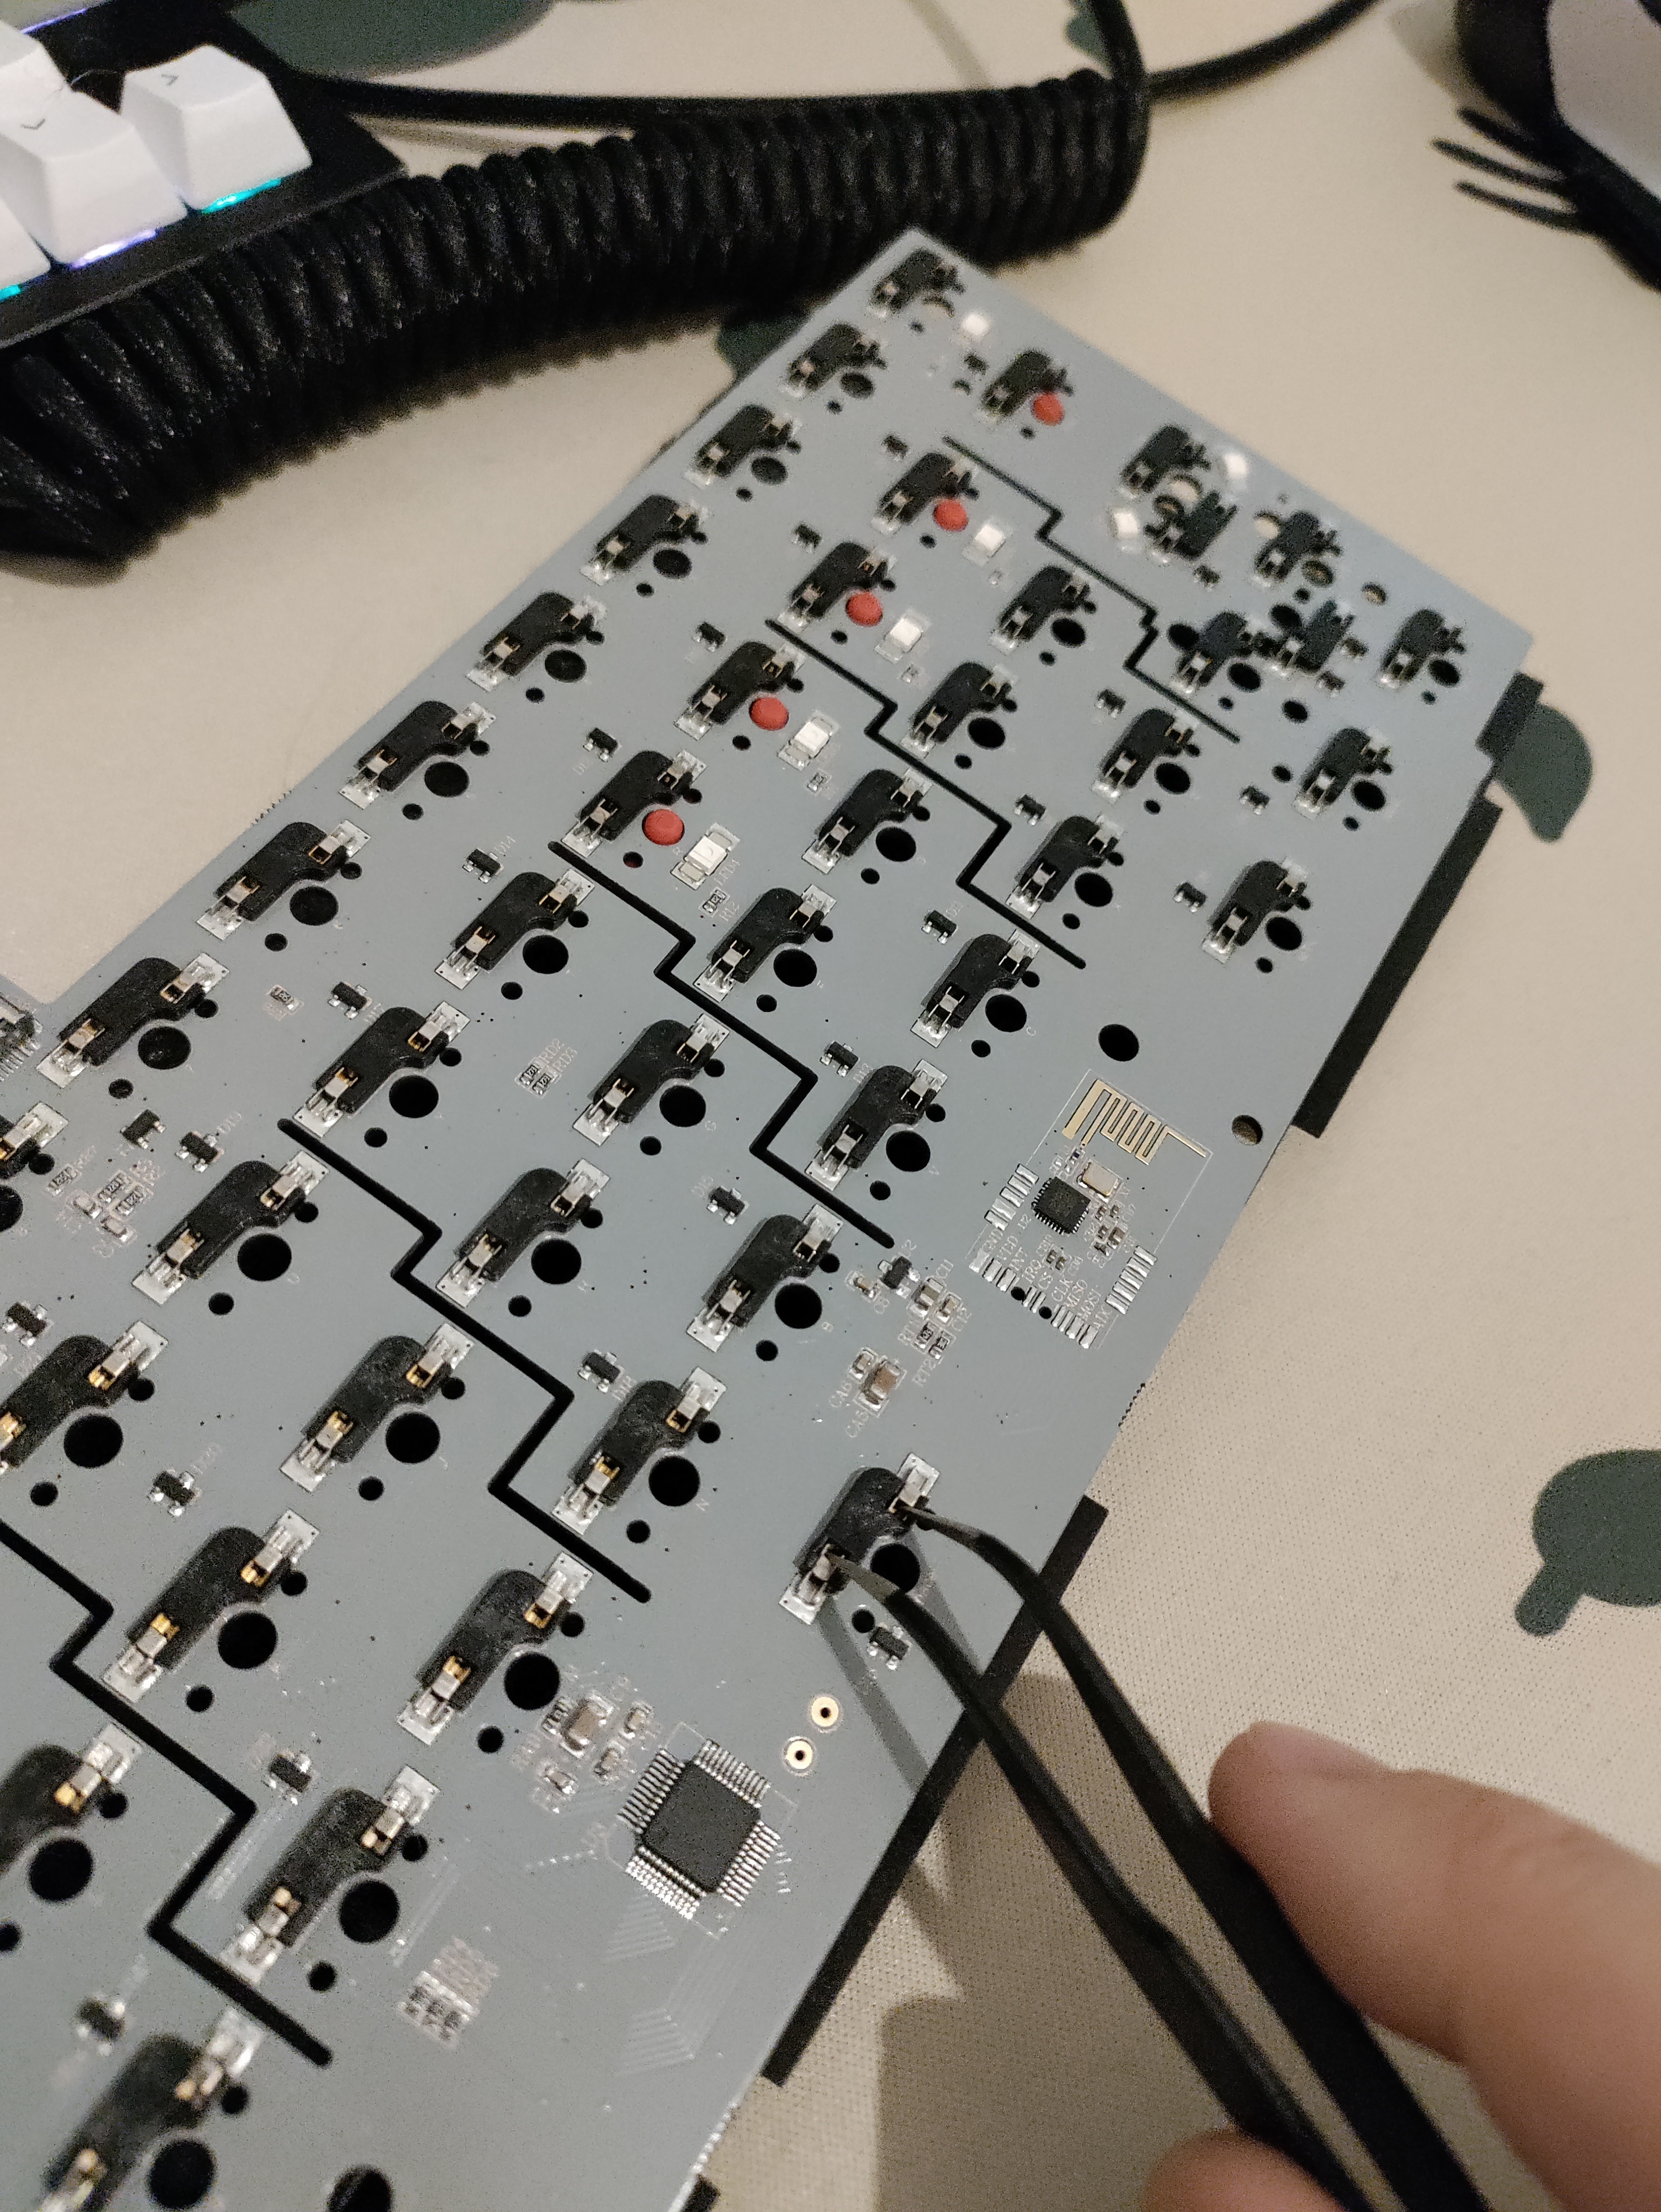
Then plug the battery to the PCB and turn on the battery switch (next to spacebar)
(-> if the escape key lights up, the battery is charging)
Connectivity test:
- fn + tab to switch to Bluetooh mode: test connecting to my mac AZER keys work
- fn + tab : 2.4Hz dongle mode: connection to my desktop computer, AZER keys work
Aaaaand… that’s it for now, the next step is to screw the stabilizers in the PCB plate, but before screwing the stabs I want to lube them.
Lubing is generally done as it helps to reduce the rattling noise and improve the overall feeling of the stabilizer.
When lubing stabilizers, you typically apply two types of lubricants and I only have one for now, so I’ll have to take a break and wait for it to be delivered. :(
