
Building the QK65 Wireless keyboard: Part 2
This post is the follow up of the QK65 build part 1!
After first part, I ordered the lube I was missing from a marketplace in Germany that took forever to deliver but actually never arrived and I then had to contact support to ask for a redelivery to which they gently agreed.
Build
I will be continuing on the QK build guide starting from “Step 3: Build”.
Stabilizers
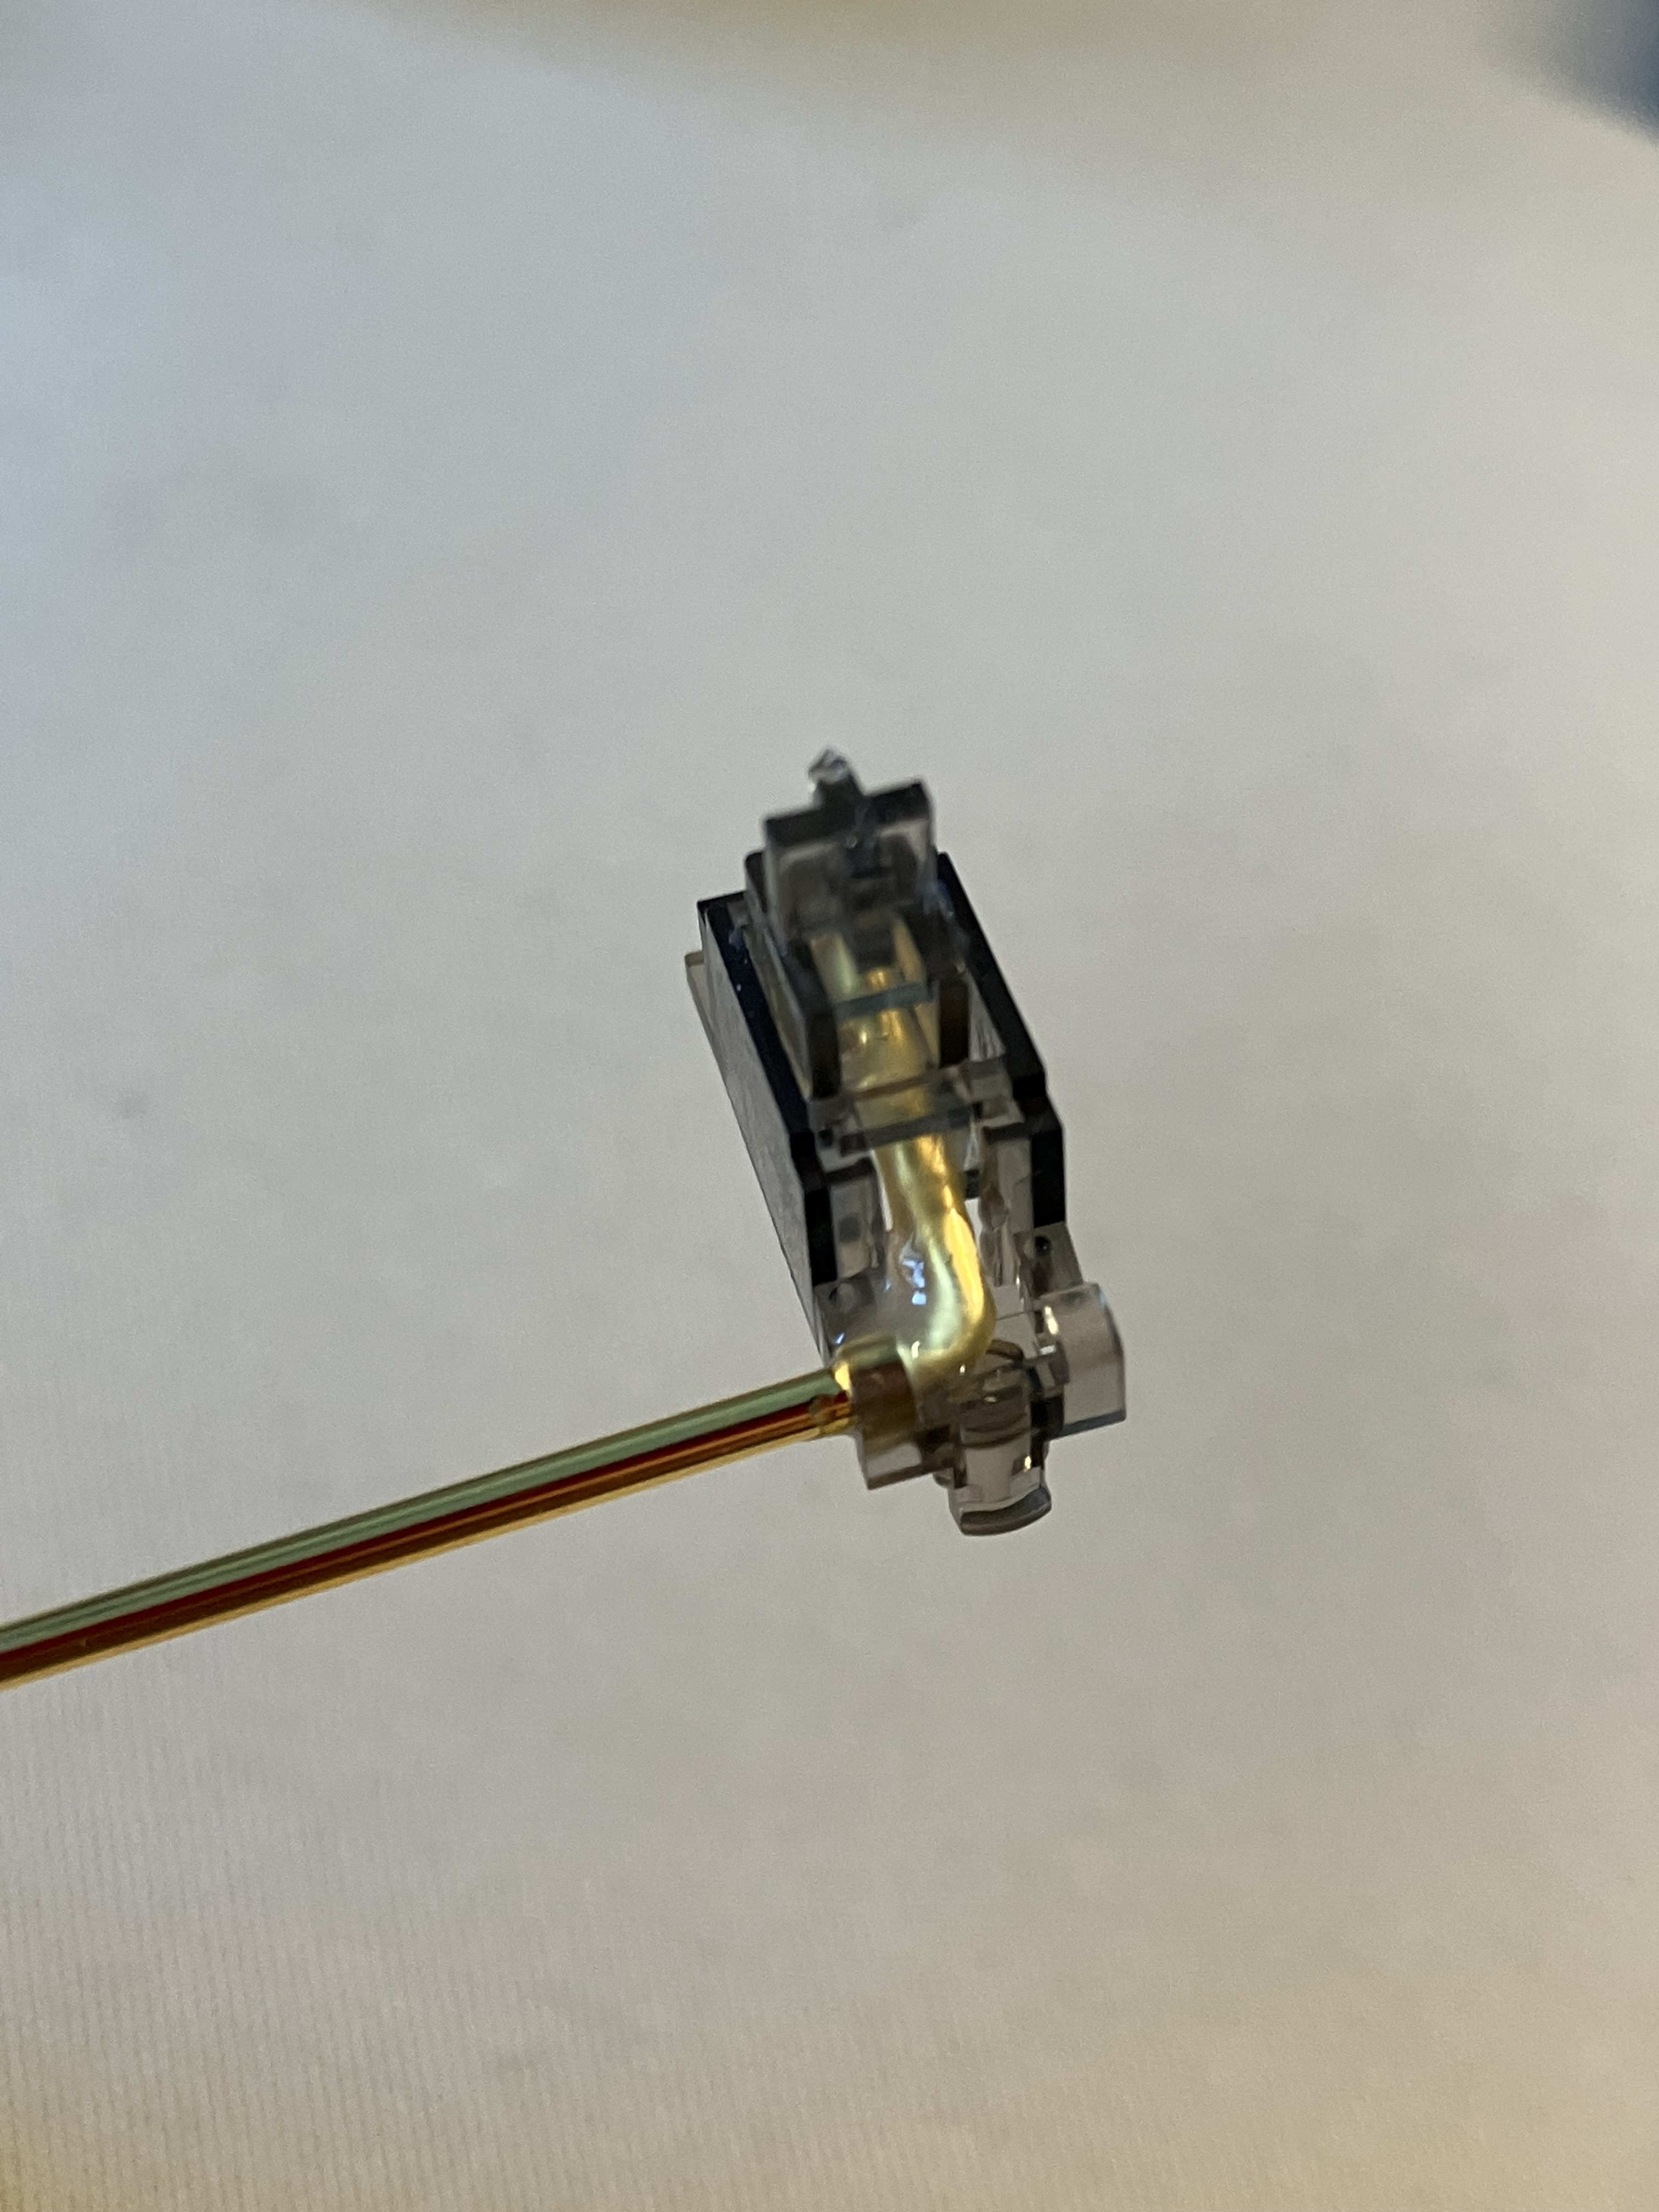
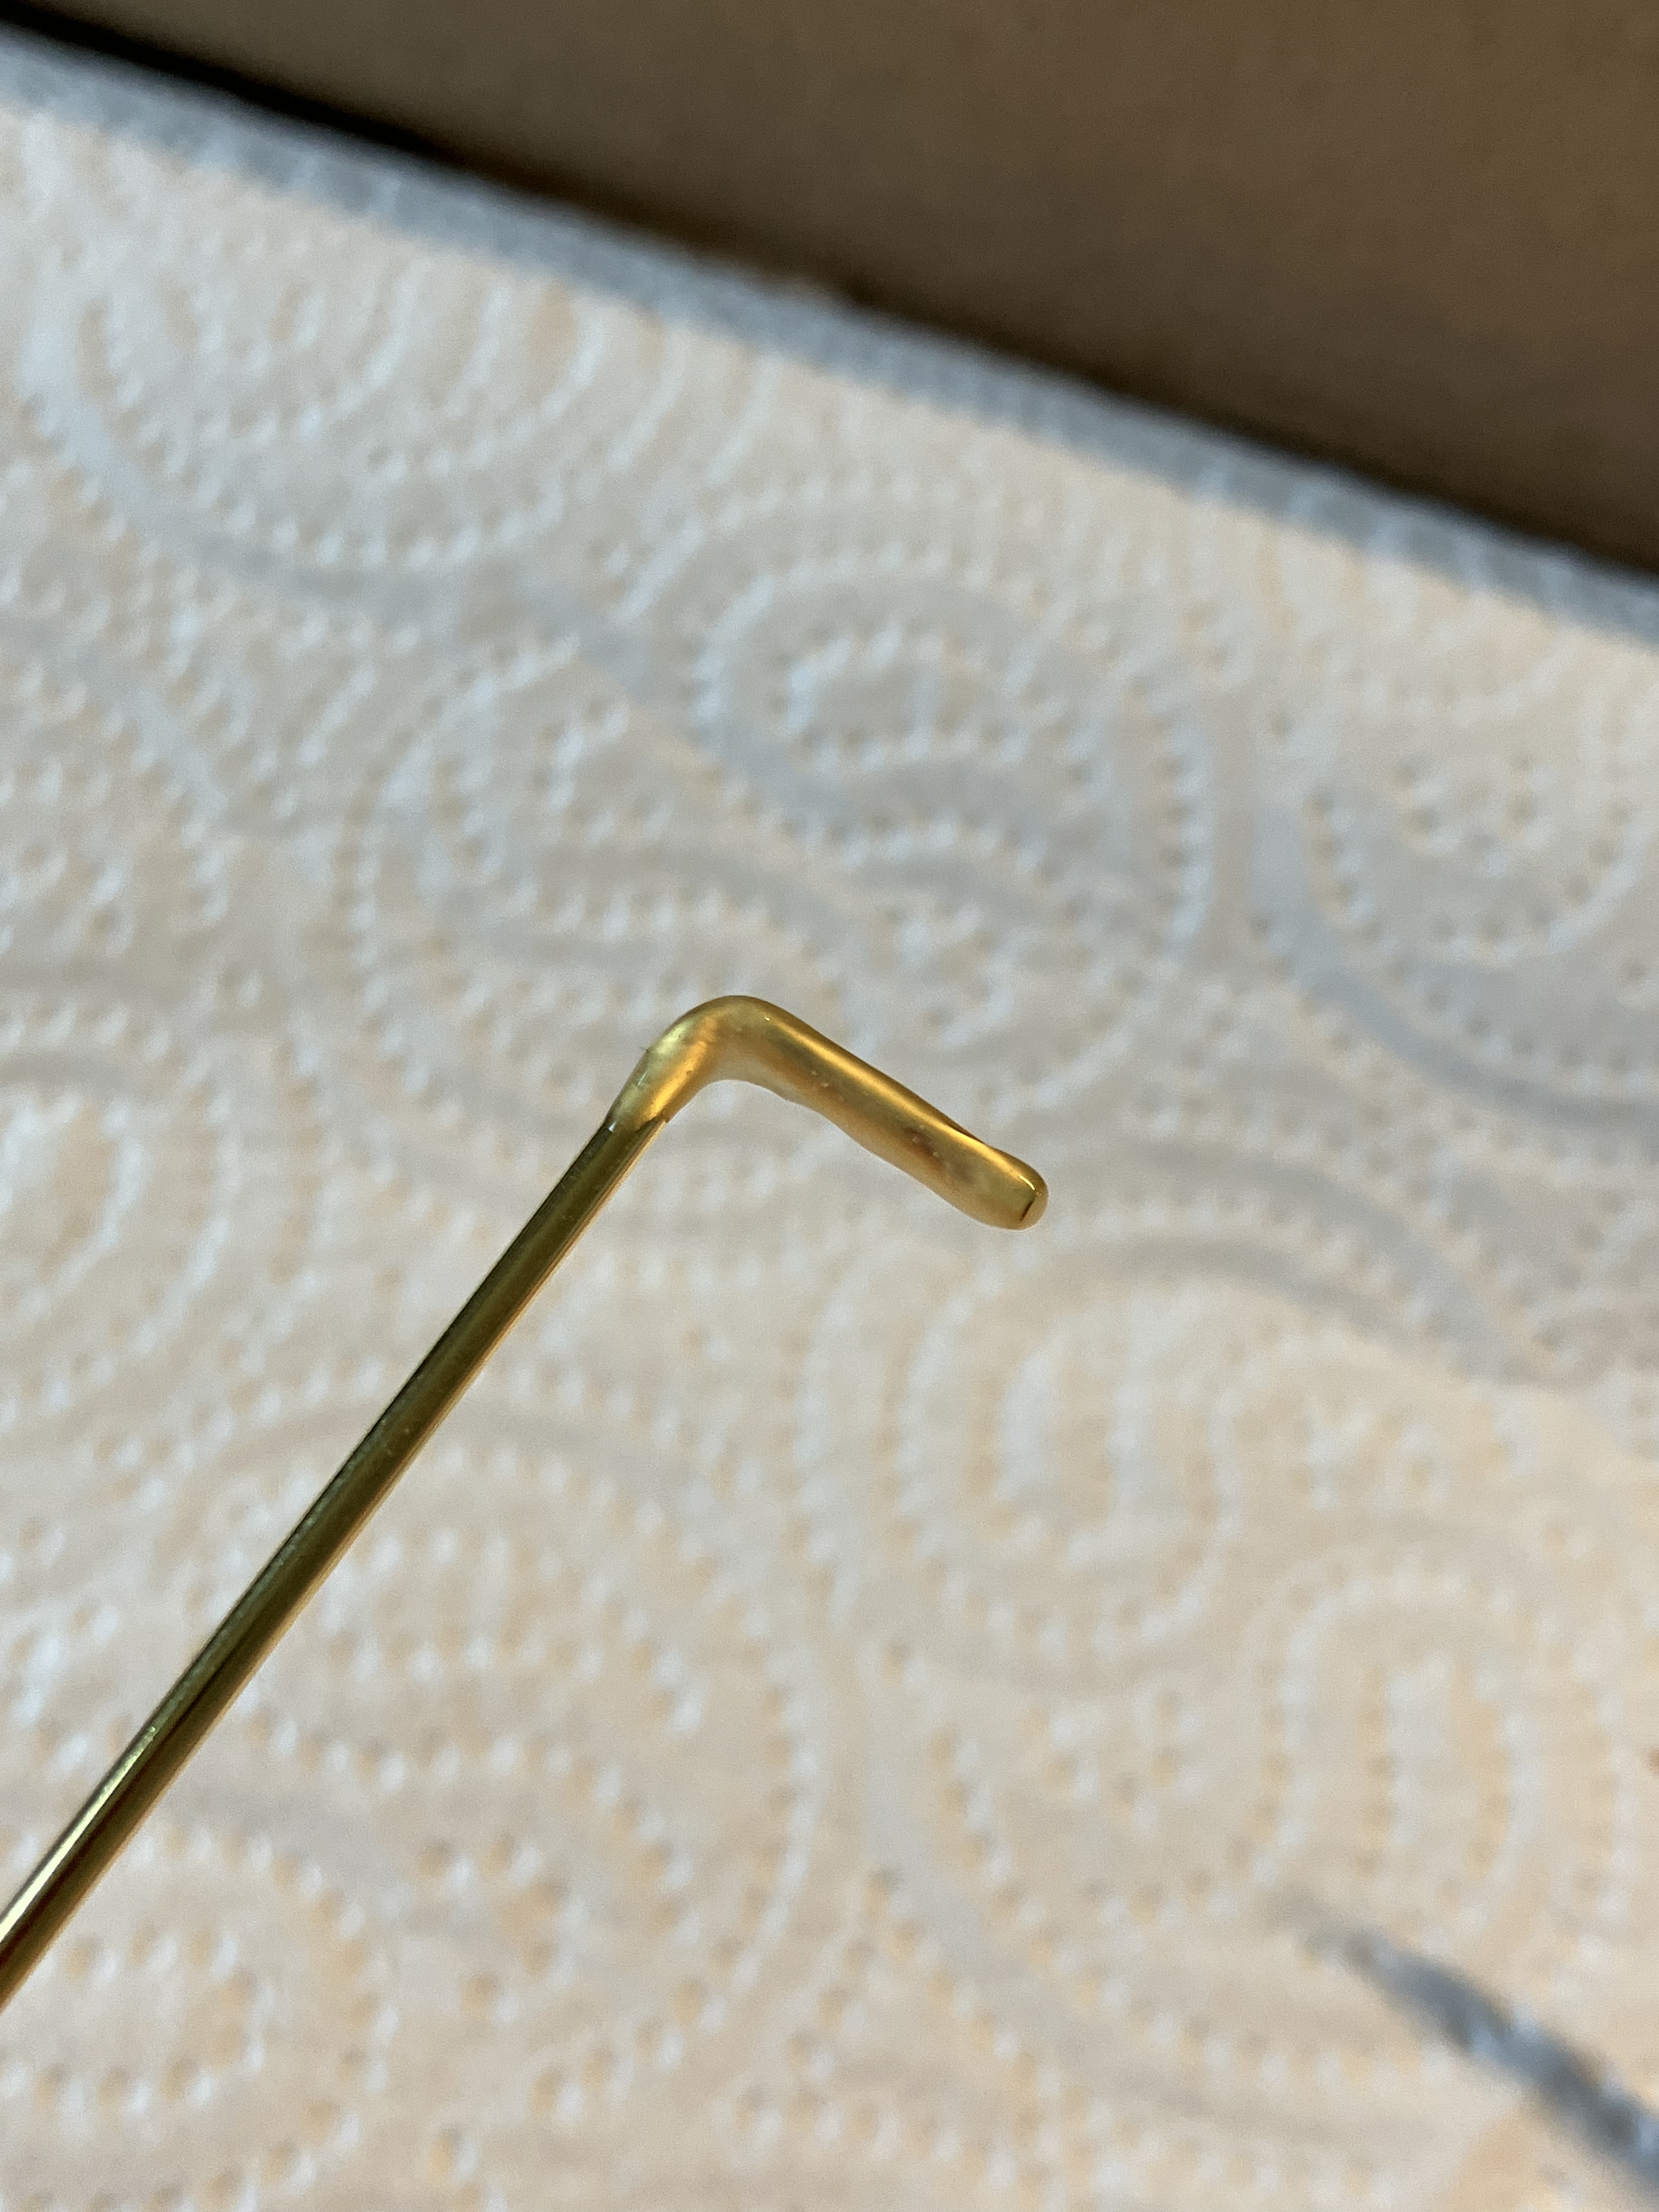
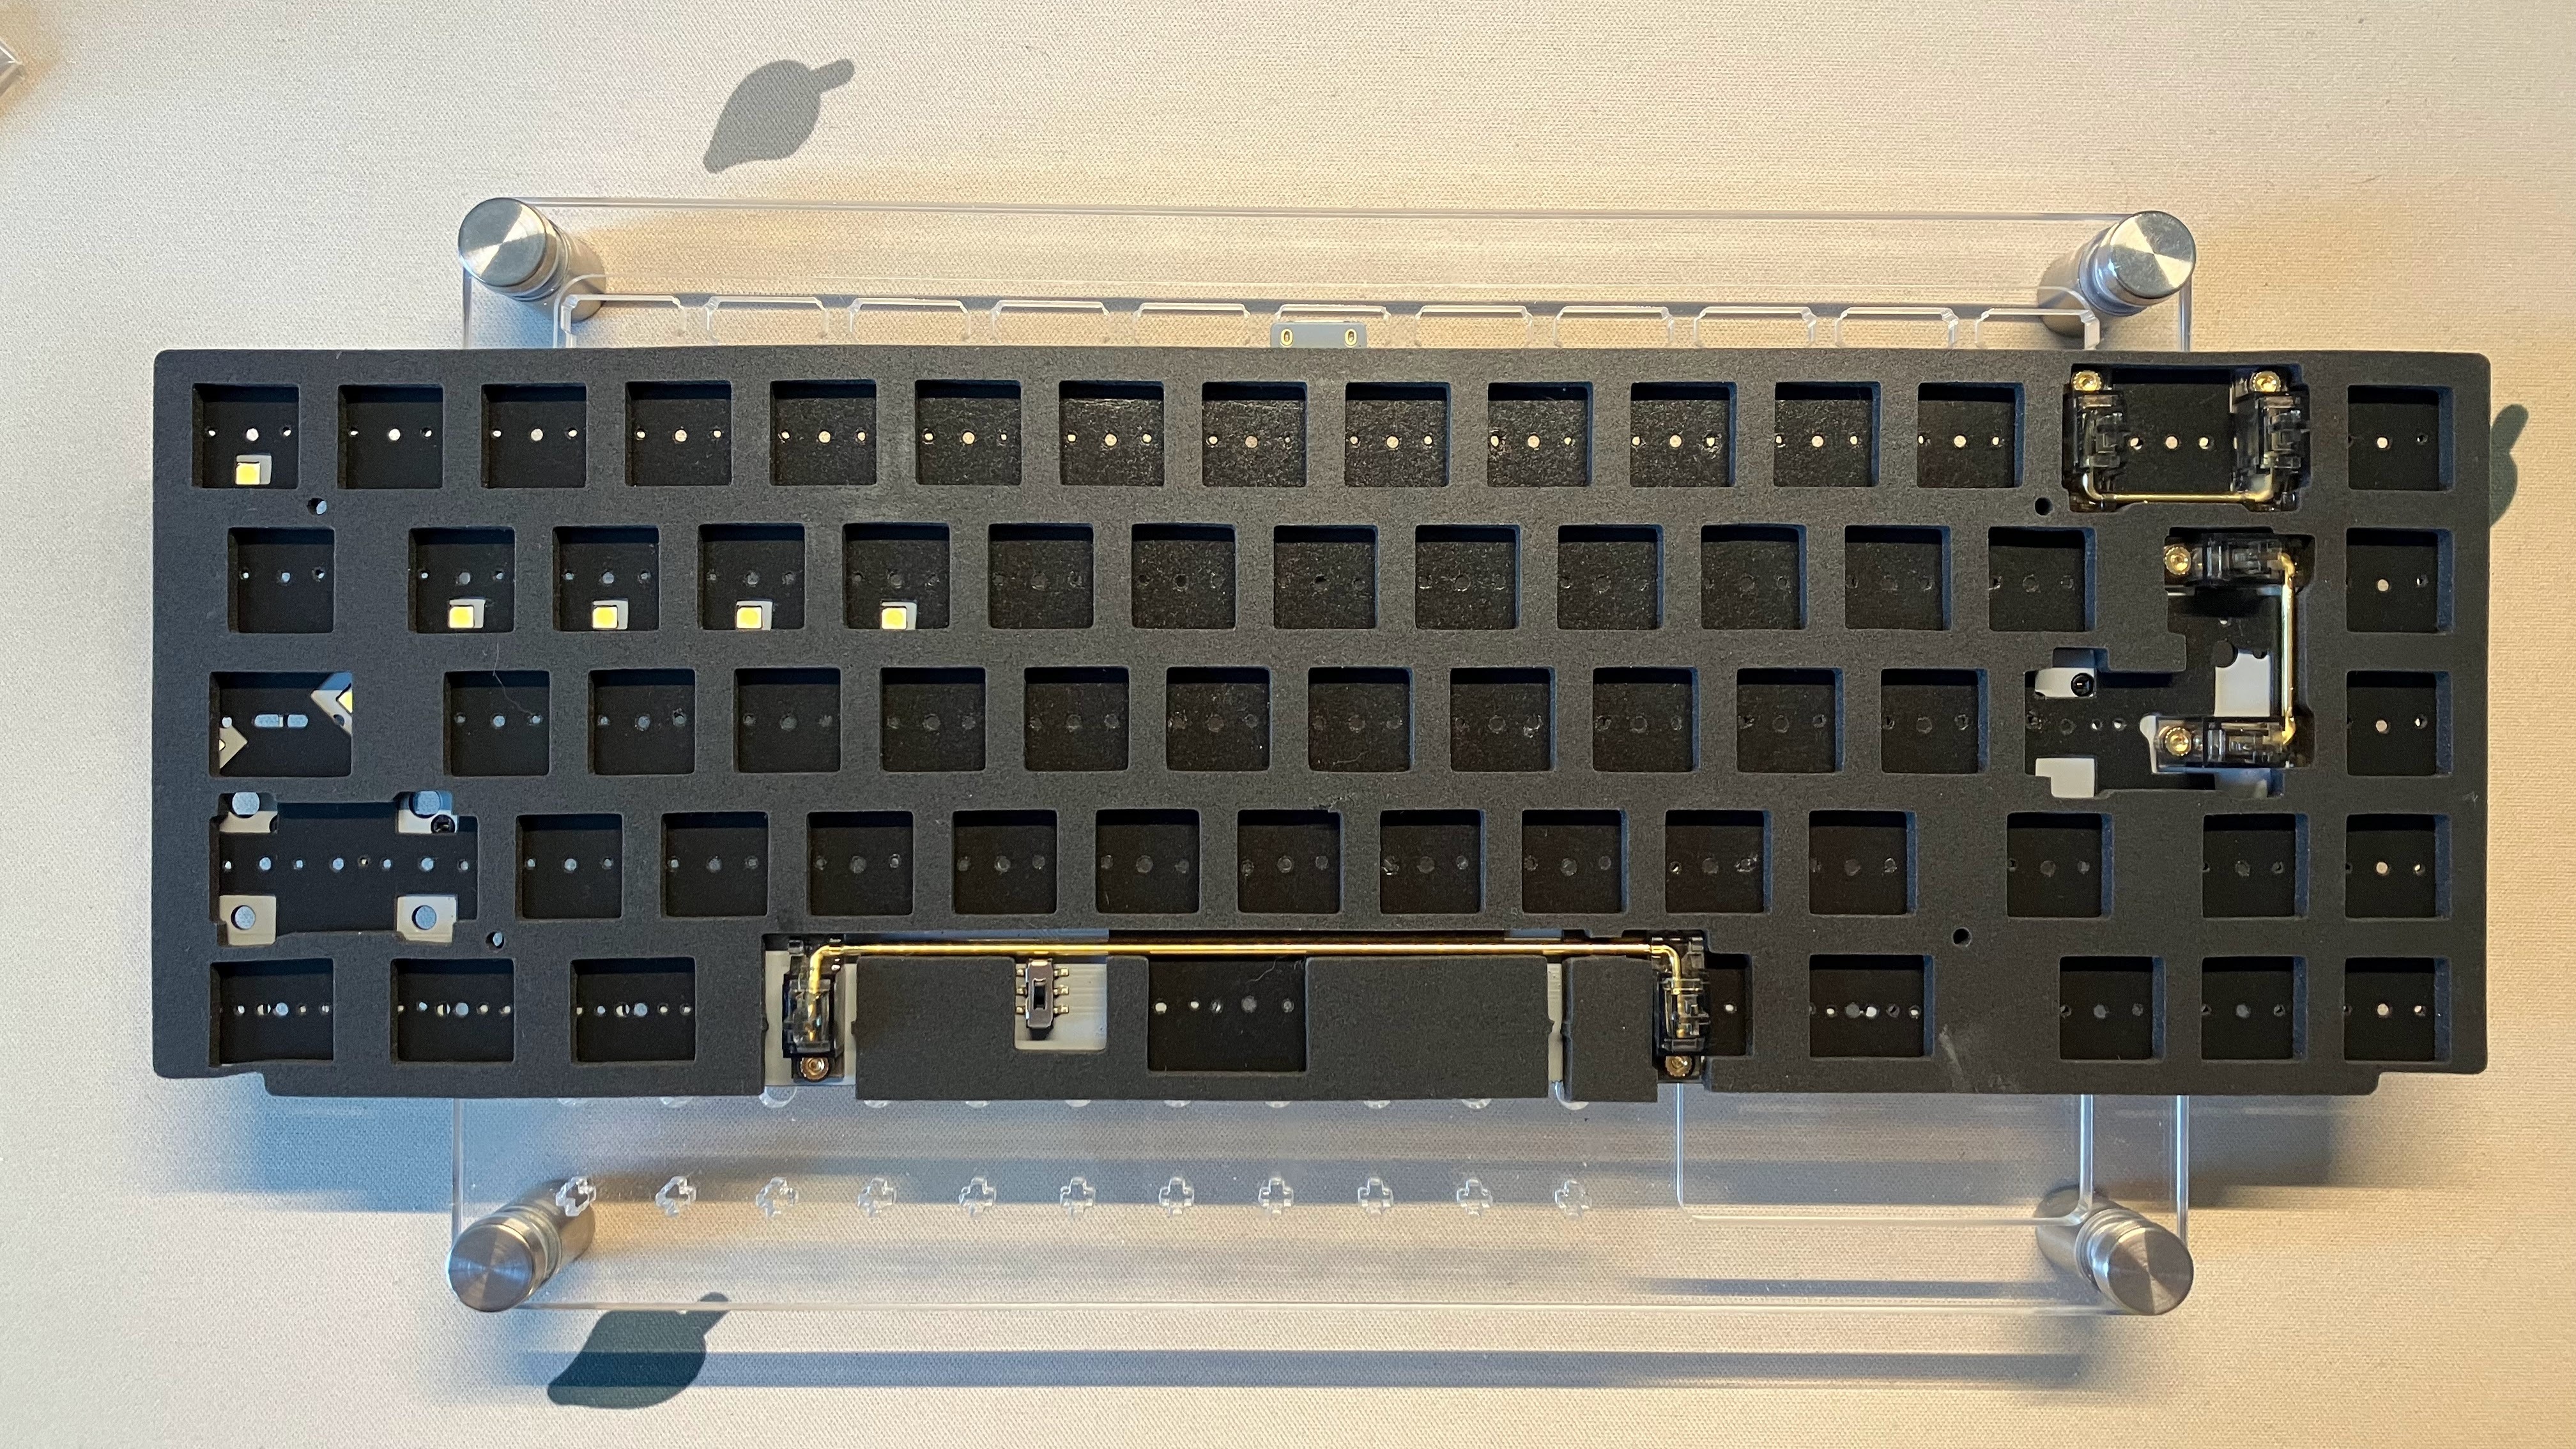
Because I am building an ISO layout, I only need to lube 3 stabilizers: for spacebar (7u), ISO enter and backspace (2u) as you can see on the picture below:
To do this, I lubed the housing and metal rods with krytox 205g0 for the housing and dielectric grease for the rods.
 |  |
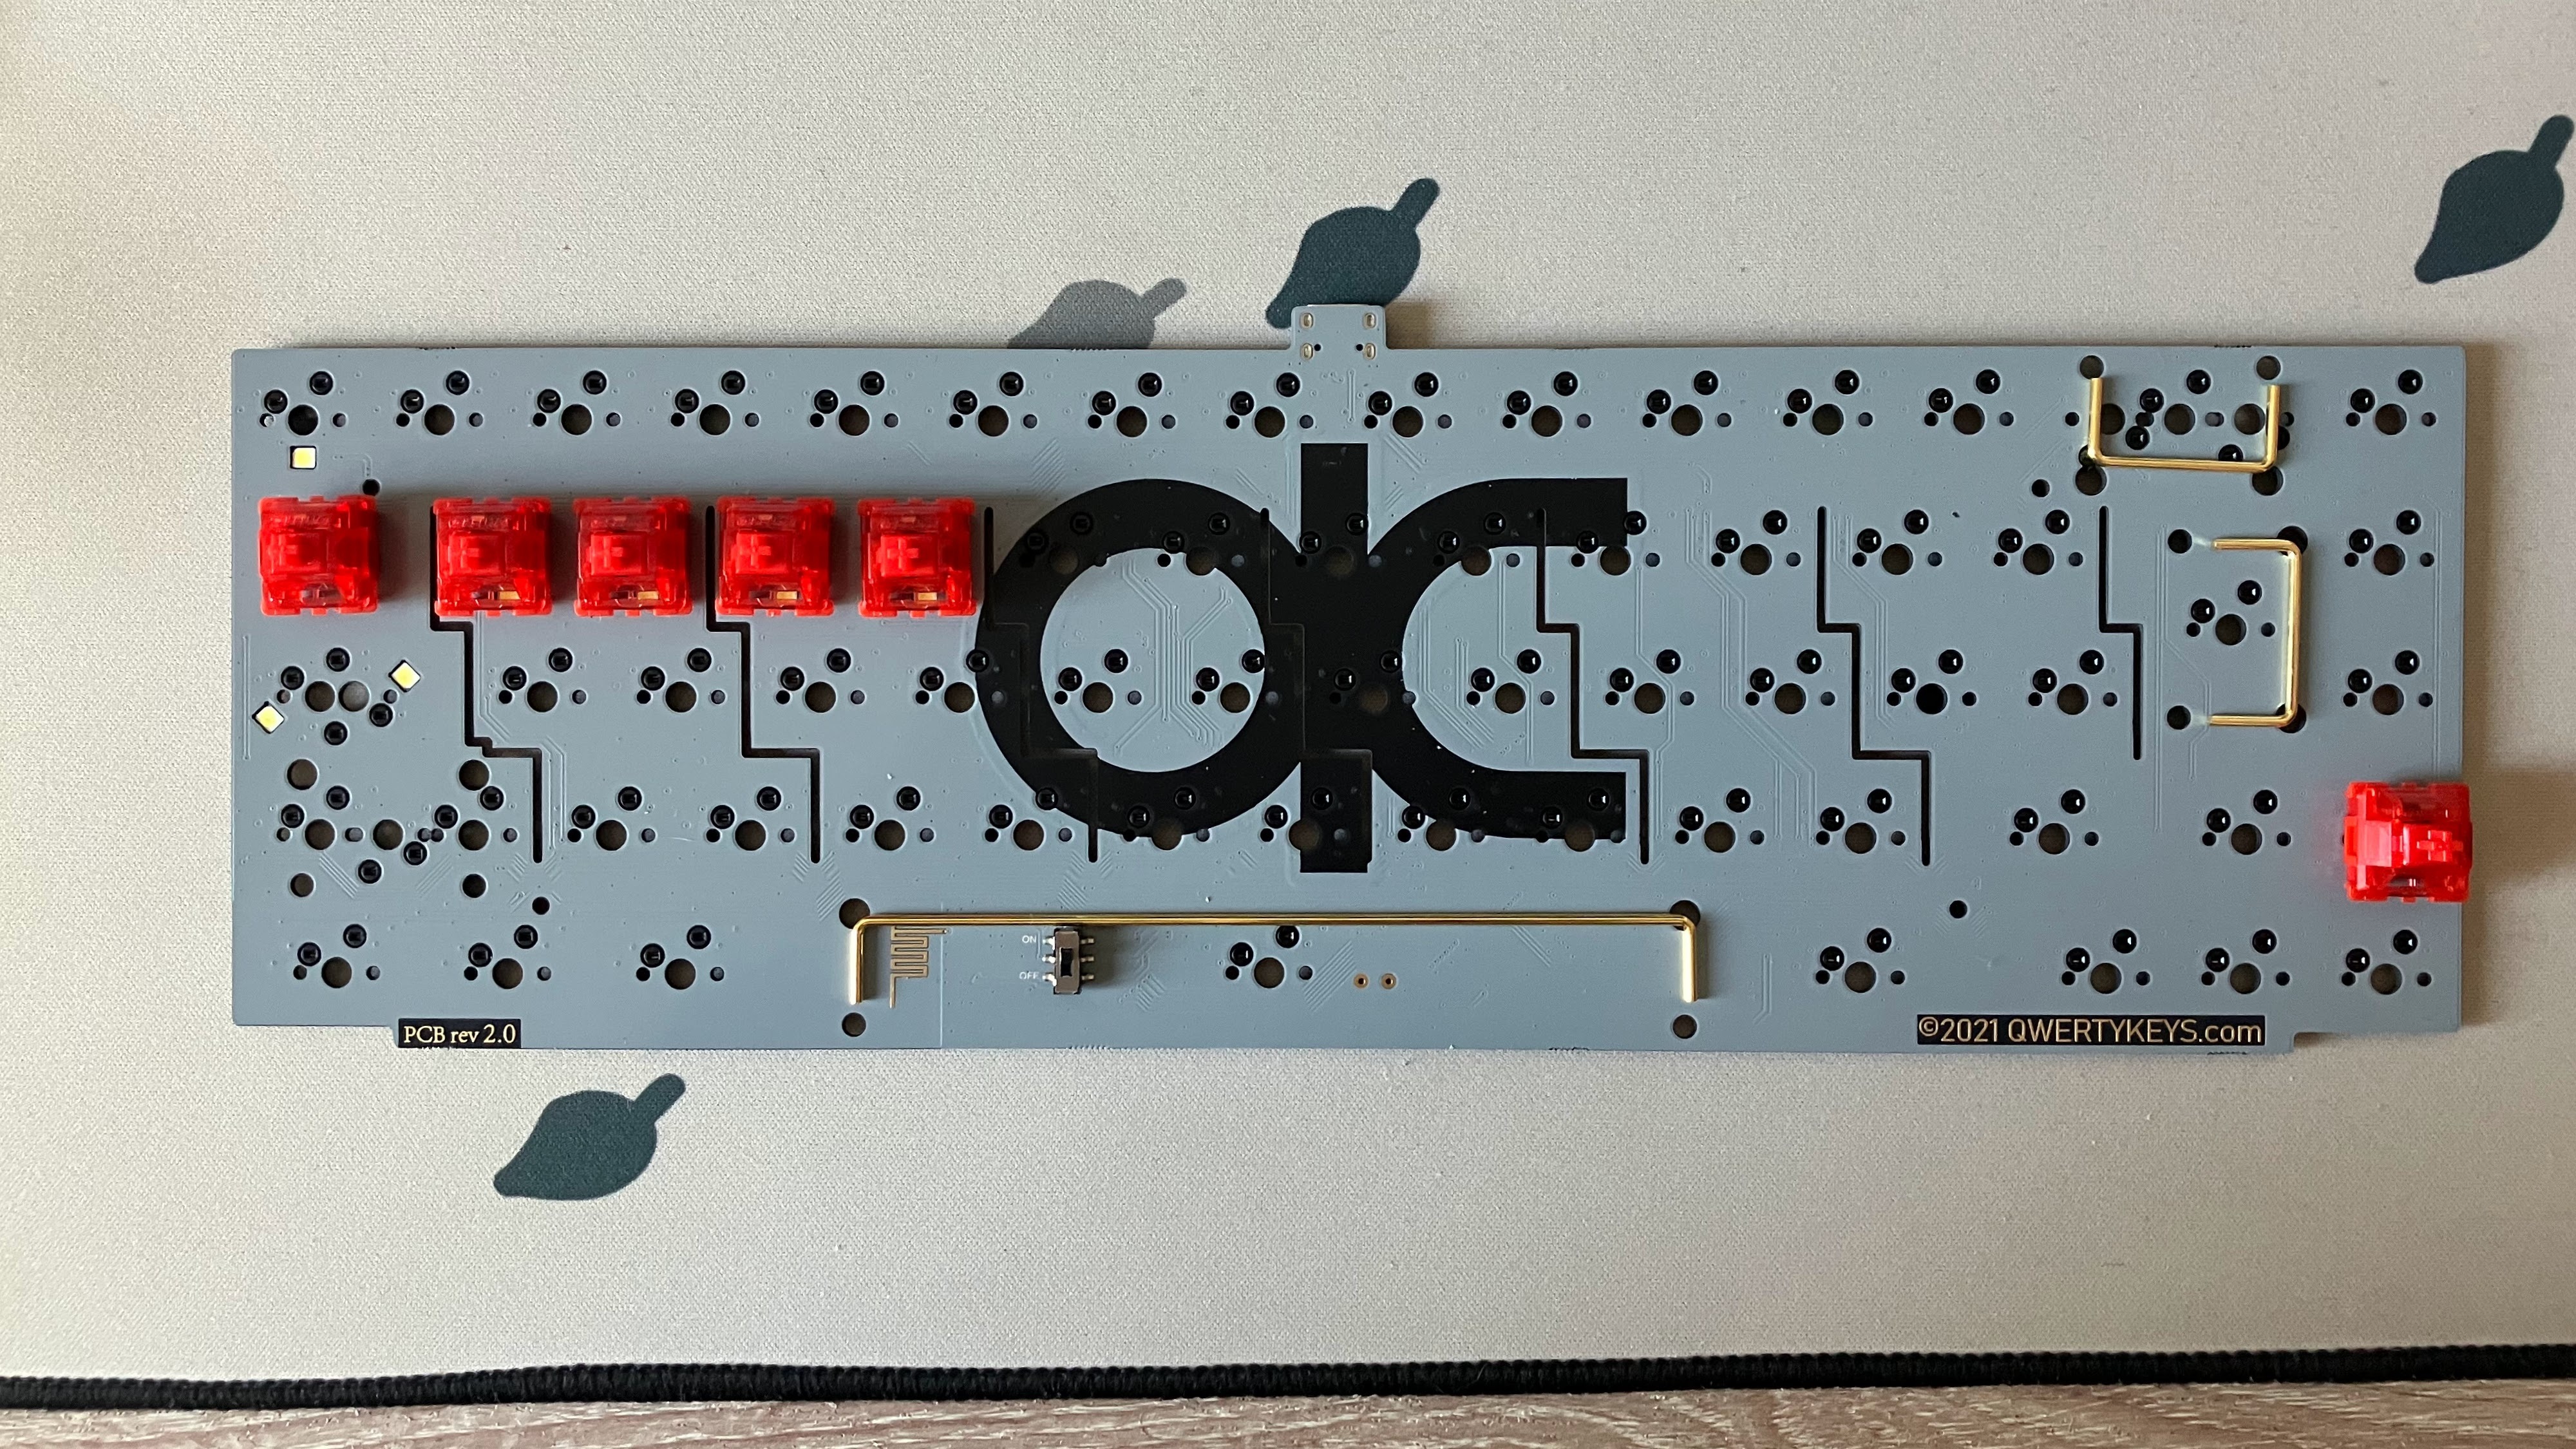
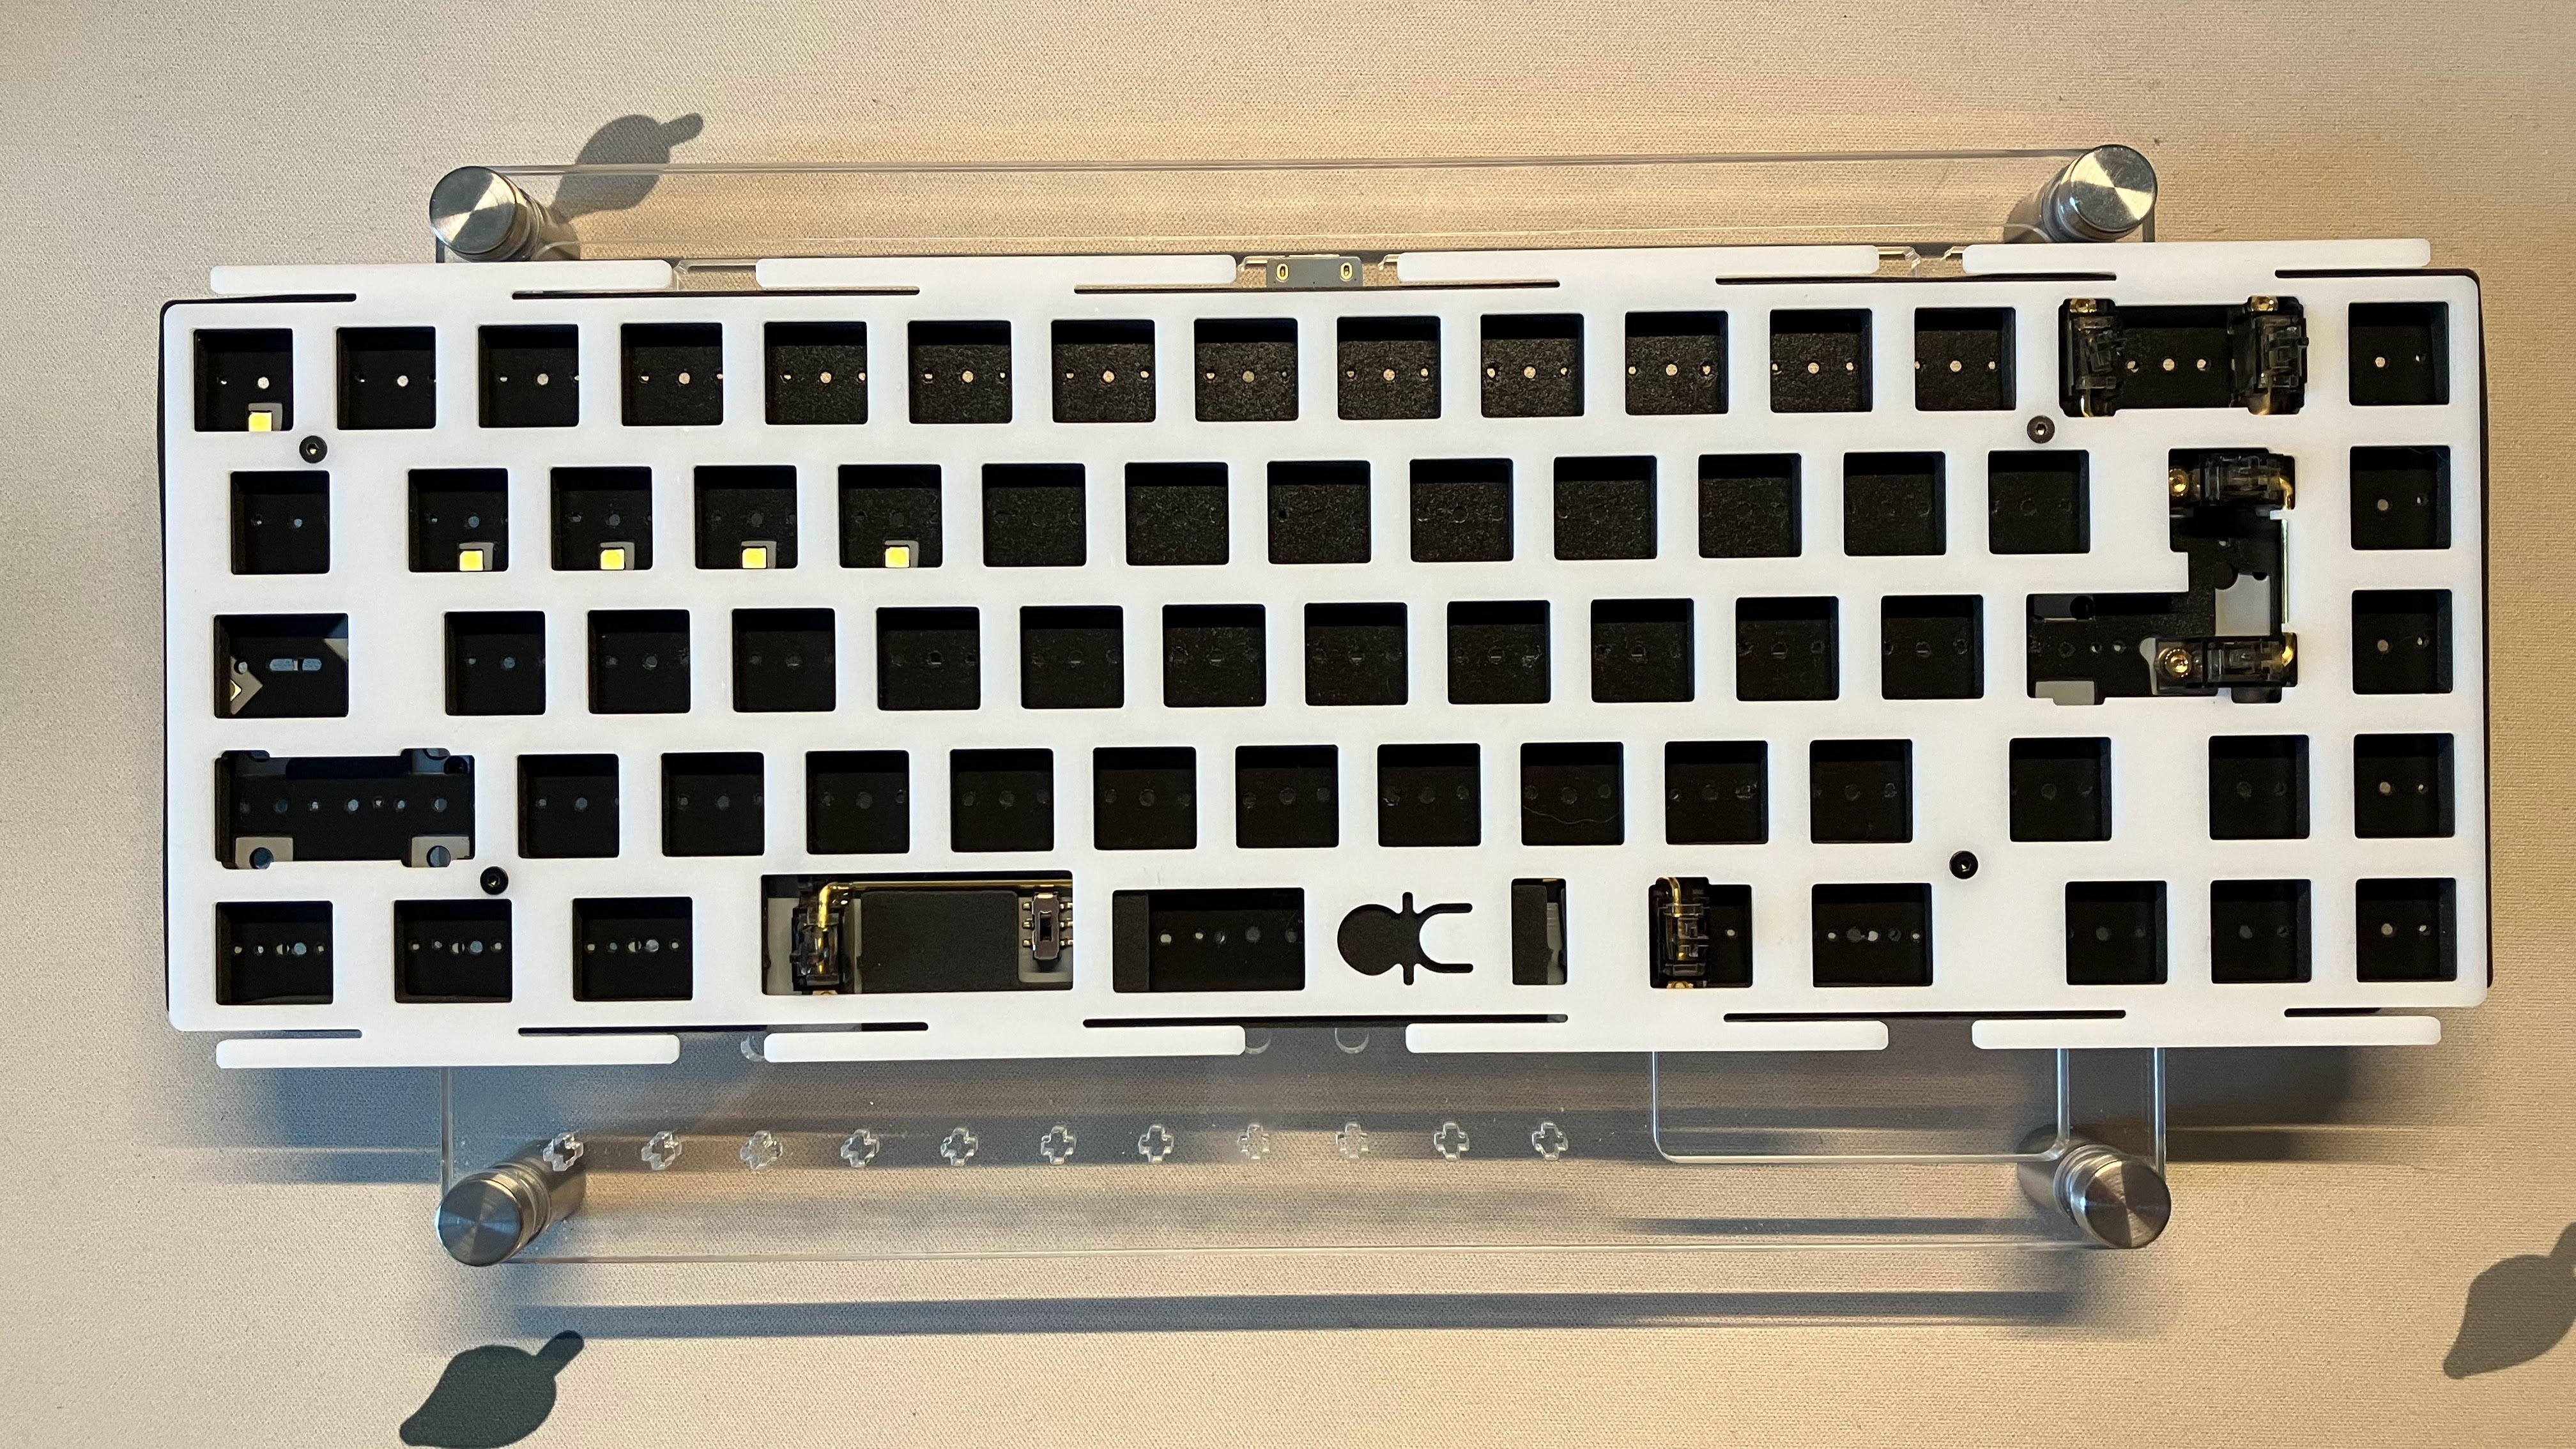
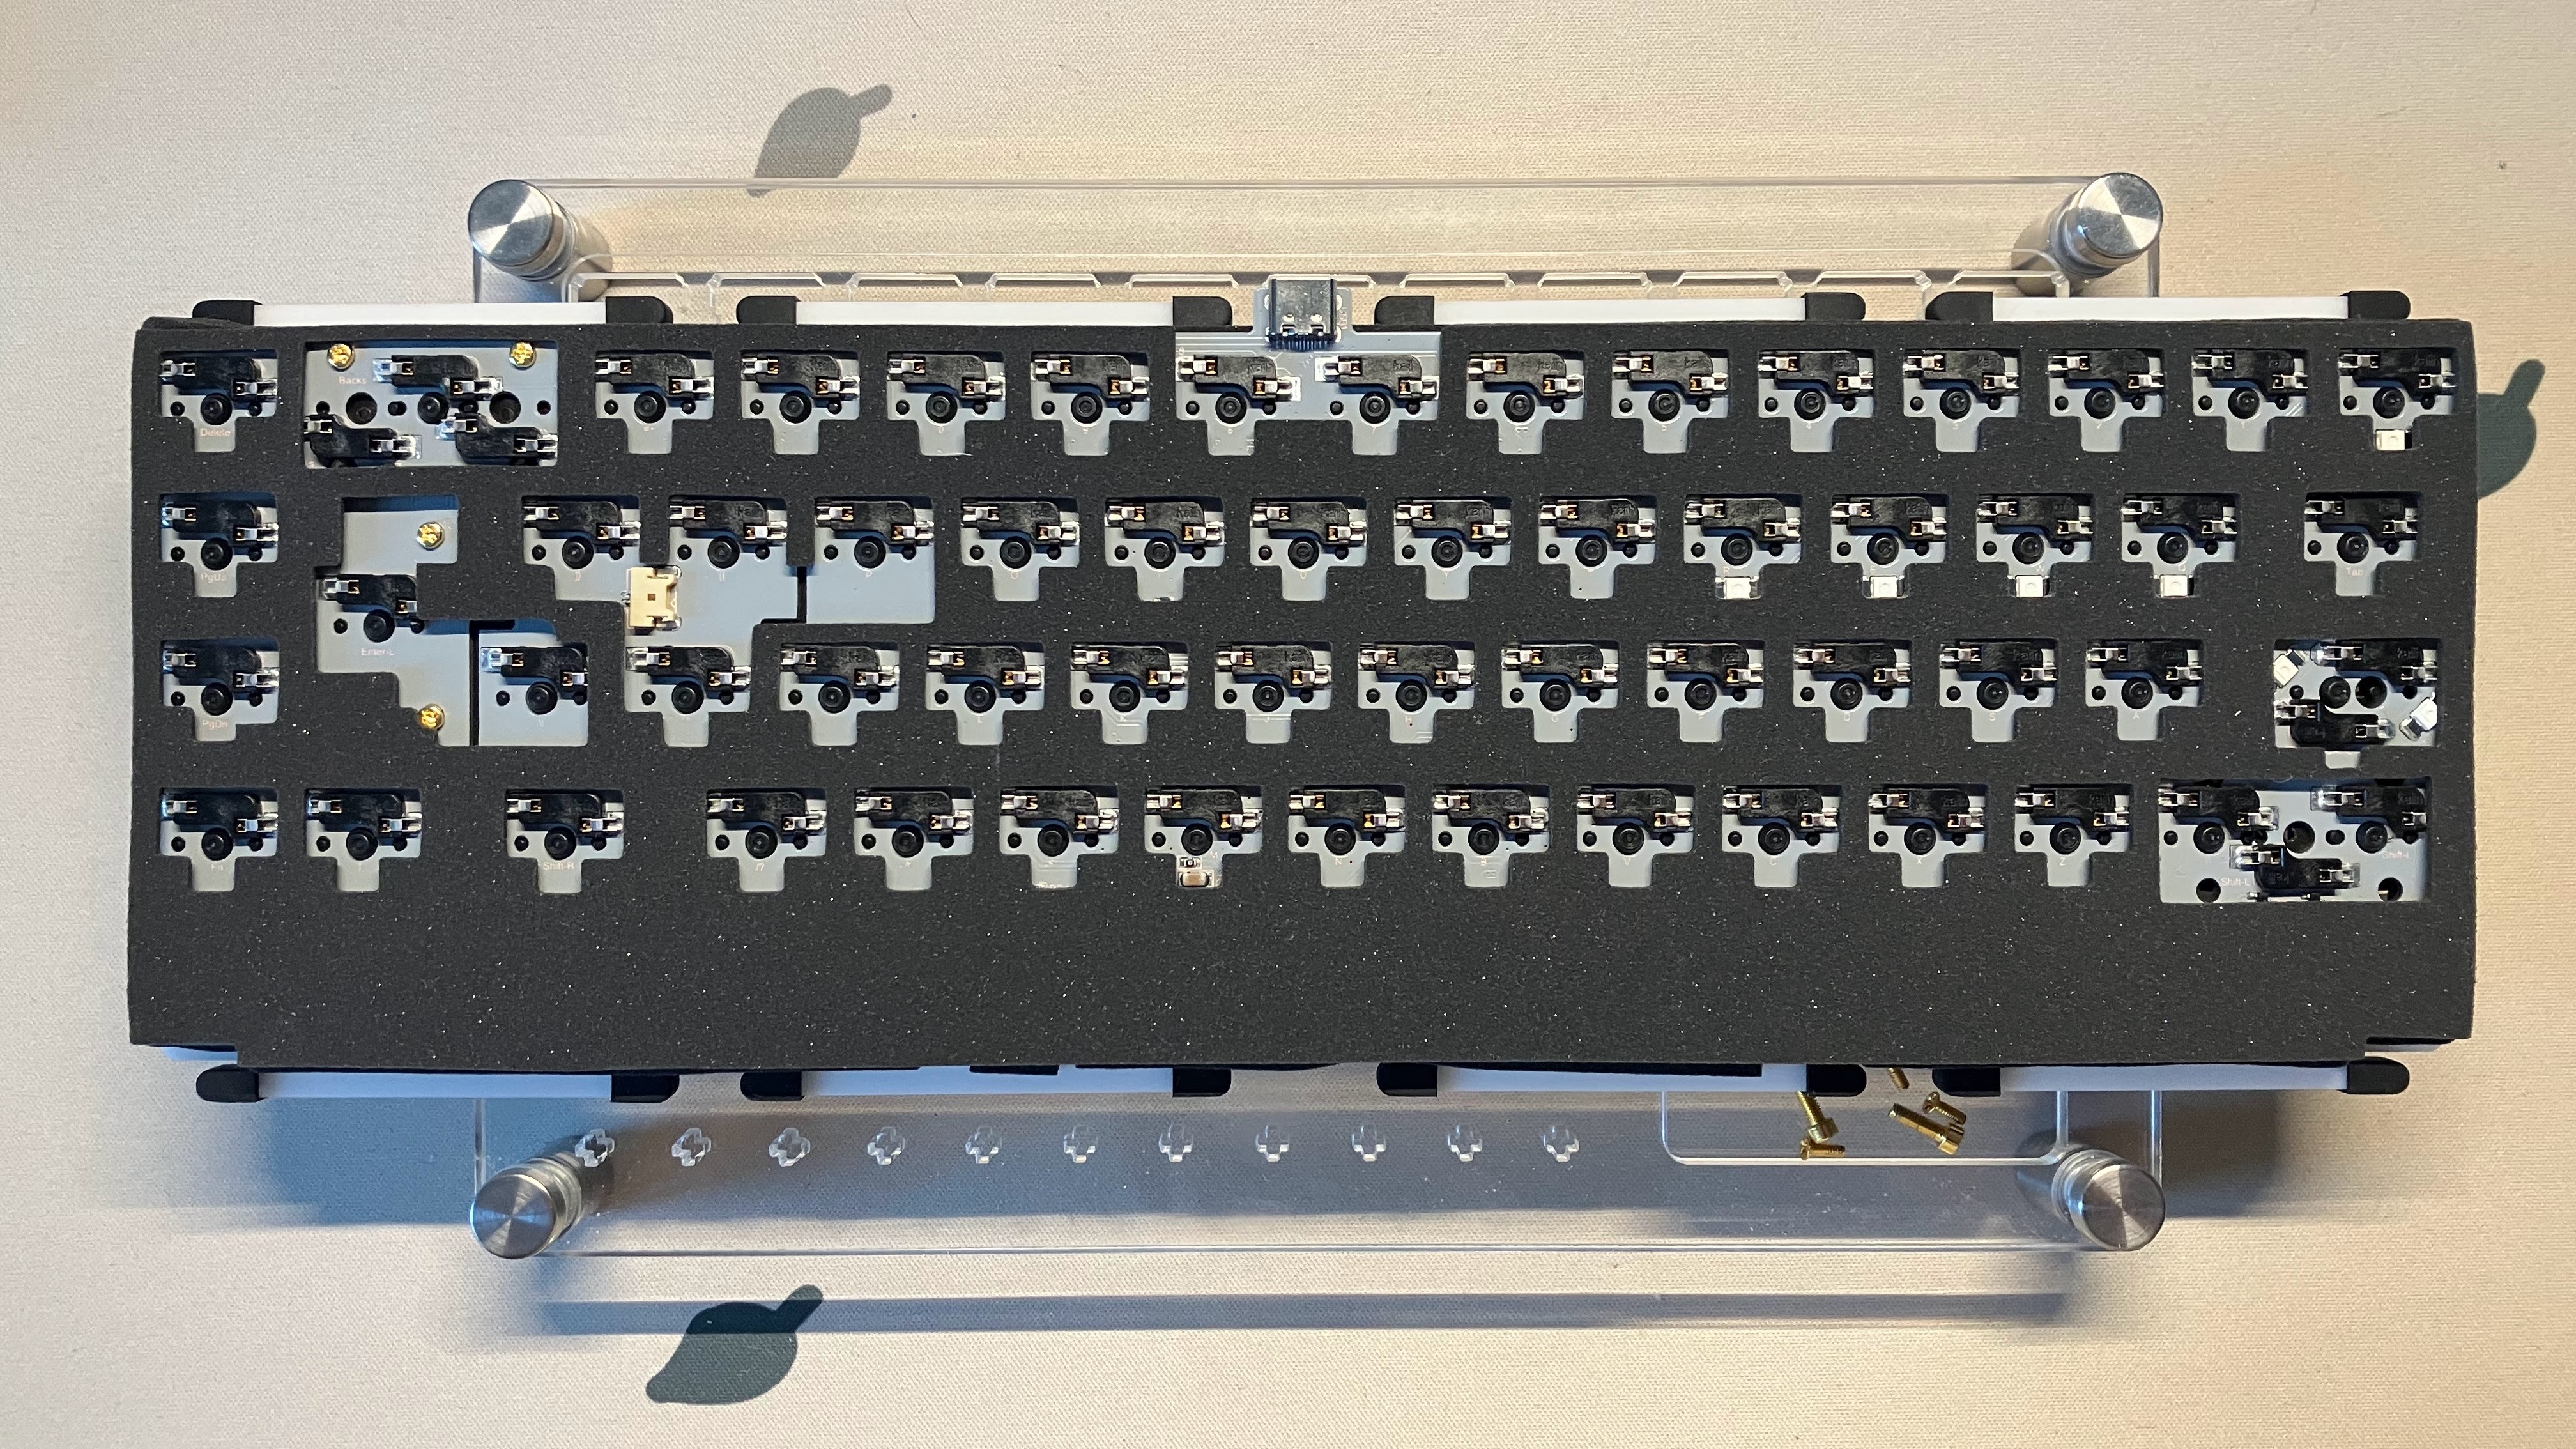
I then removed the switches I had on from testing the board previously and placed the PE sheet on the PCB, clipped them in and screwed them from the back of the board.

Sheets, Foam and Plate
Next I placed the PCB foam on top (cutting out the spacebar) and inserted standoffs inside the foam.
I actually had a hard time with the standoff screws because I didn’t have the right screwdriver for their head.
On standoffs
3-pin switches are usually mounted directly onto the PCB using the two outermost pins, which are also used for electrical connectivity. In this case, standoffs are used to create a gap between the switch and the PCB to prevent the switch from being pushed down too far and damaging the PCB.5-pin switches, on the other hand, have an additional two pins that are used only for mechanical stability, and are not connected to any circuitry. These additional pins are designed to fit into holes on the PCB and prevent the switch from wobbling or moving around during use. Therefore, standoffs are not typically needed when using 5-pin switches.
I then placed the POM plate on top and screwed it with the standoffs.
If you’re following along with me, now is the best time to sound test your stabs before finishing the build!
Switches
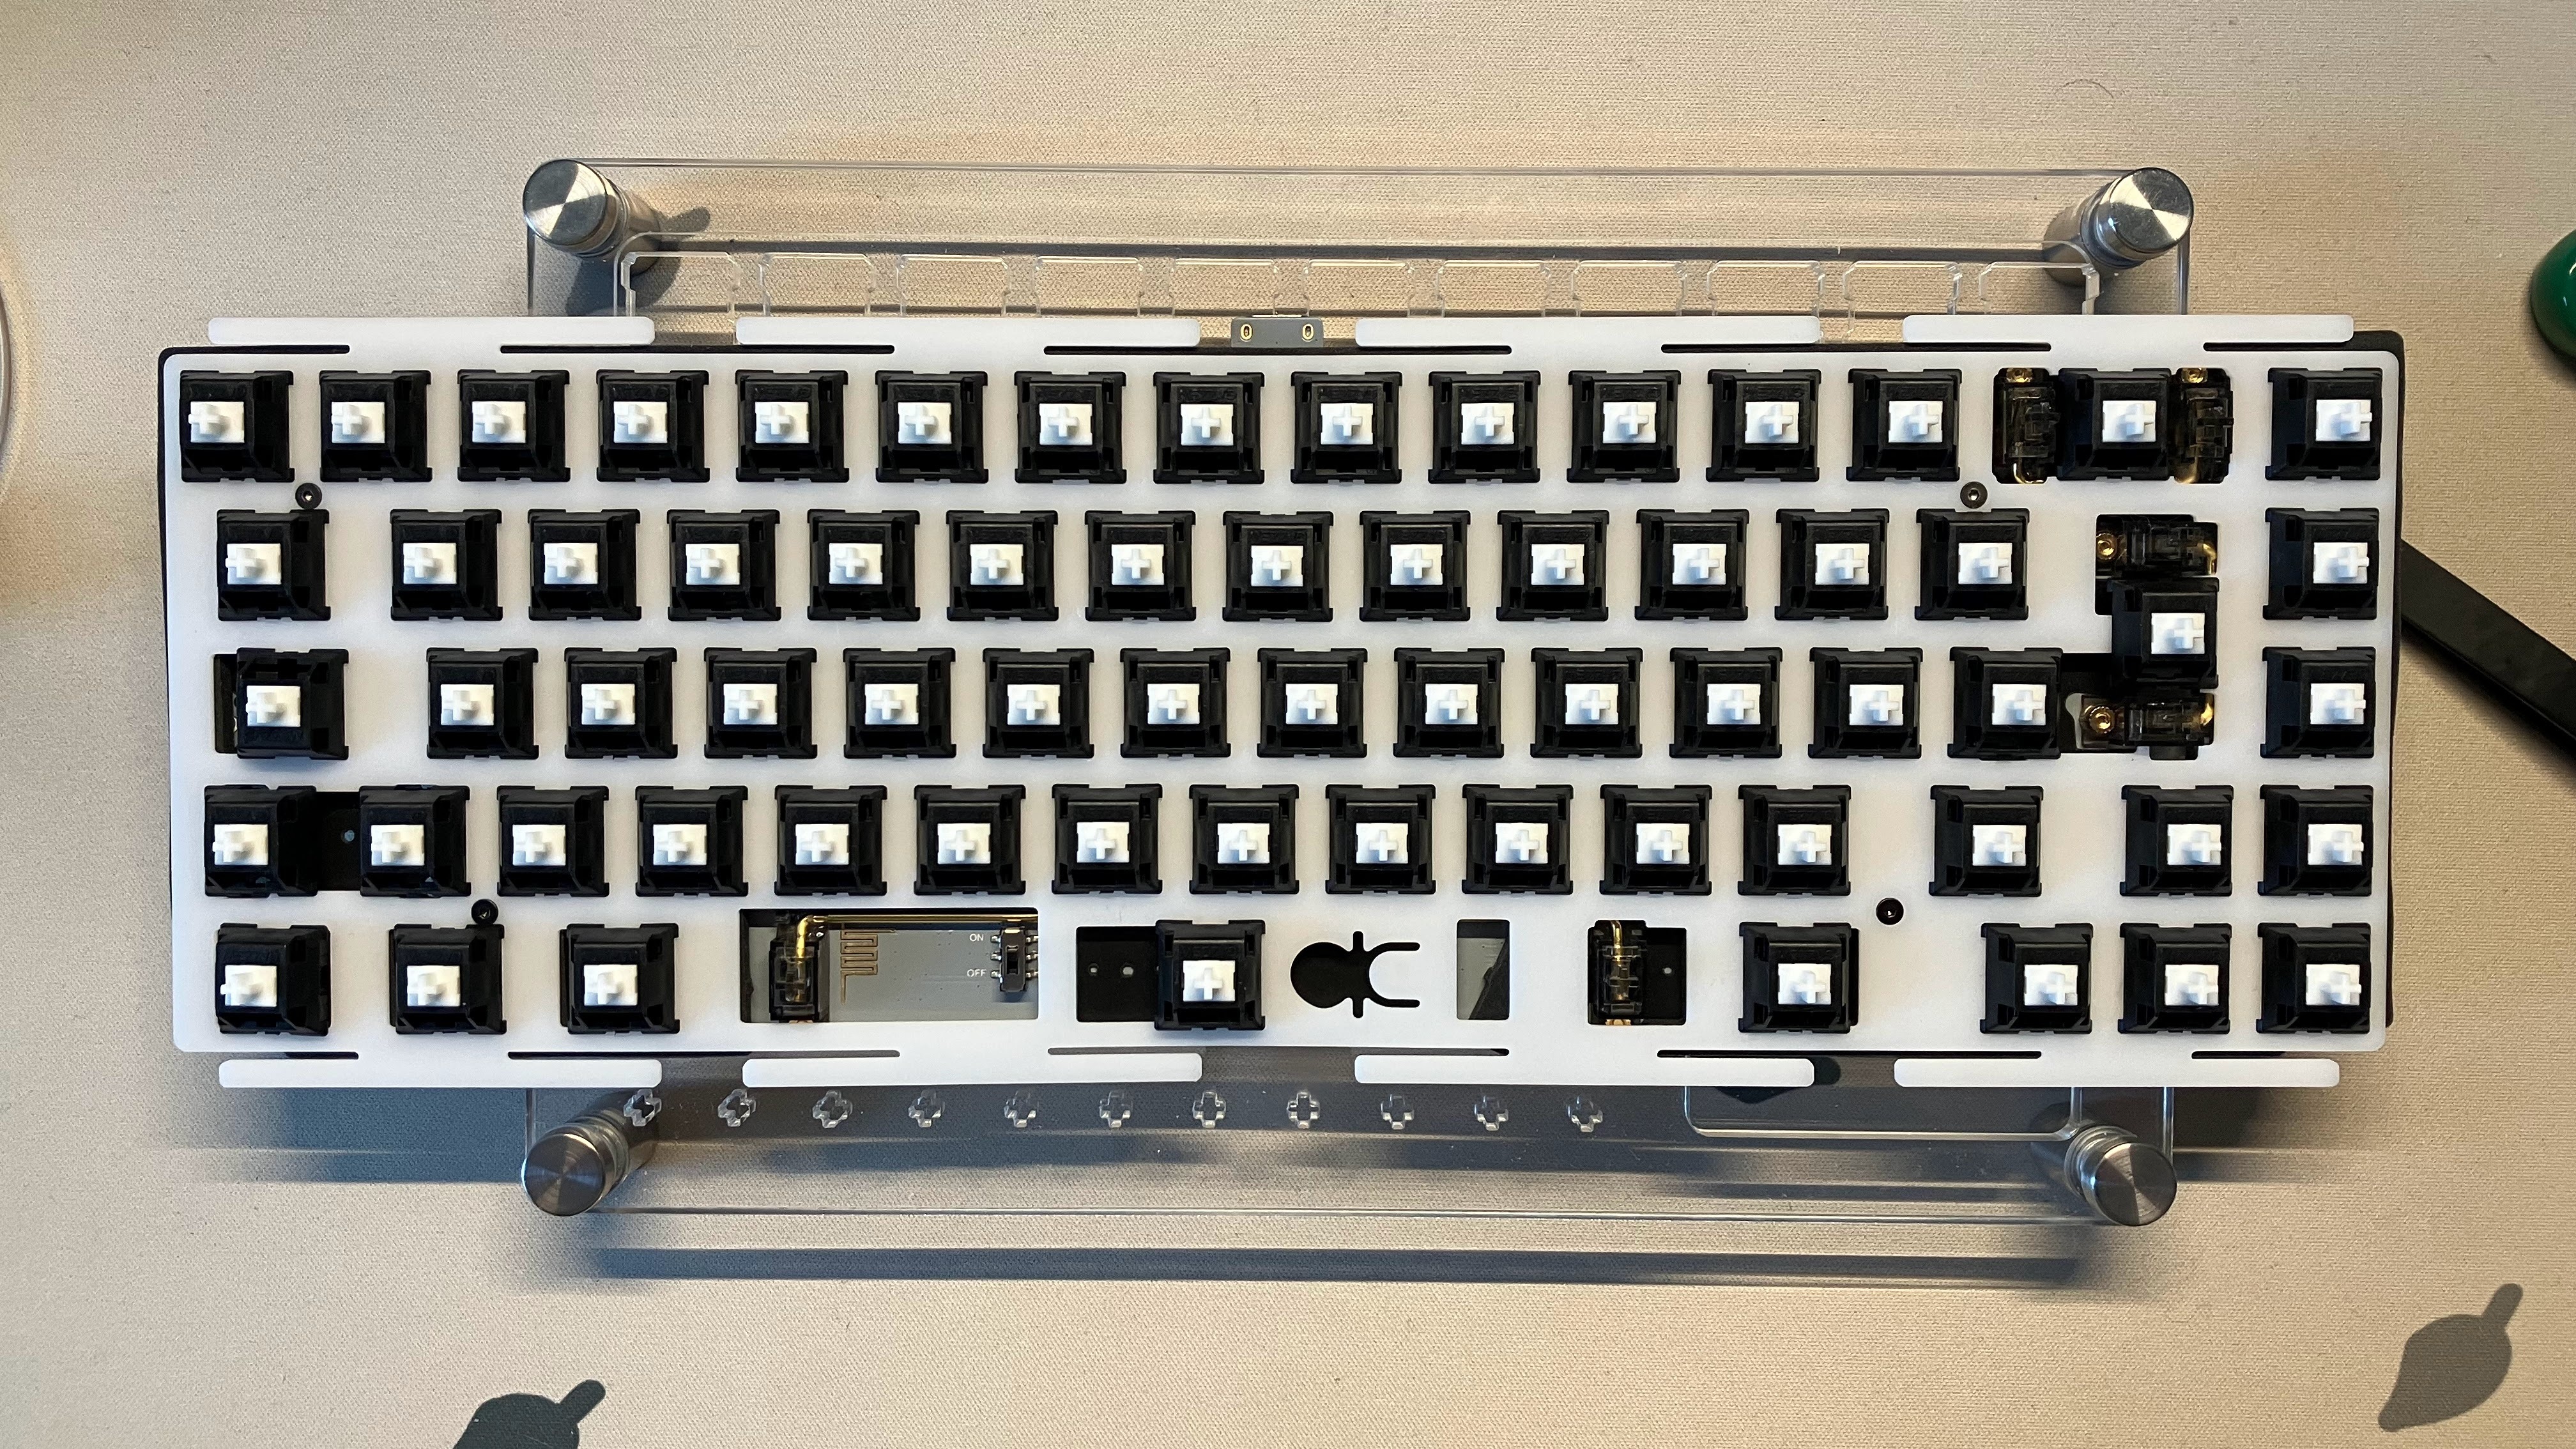
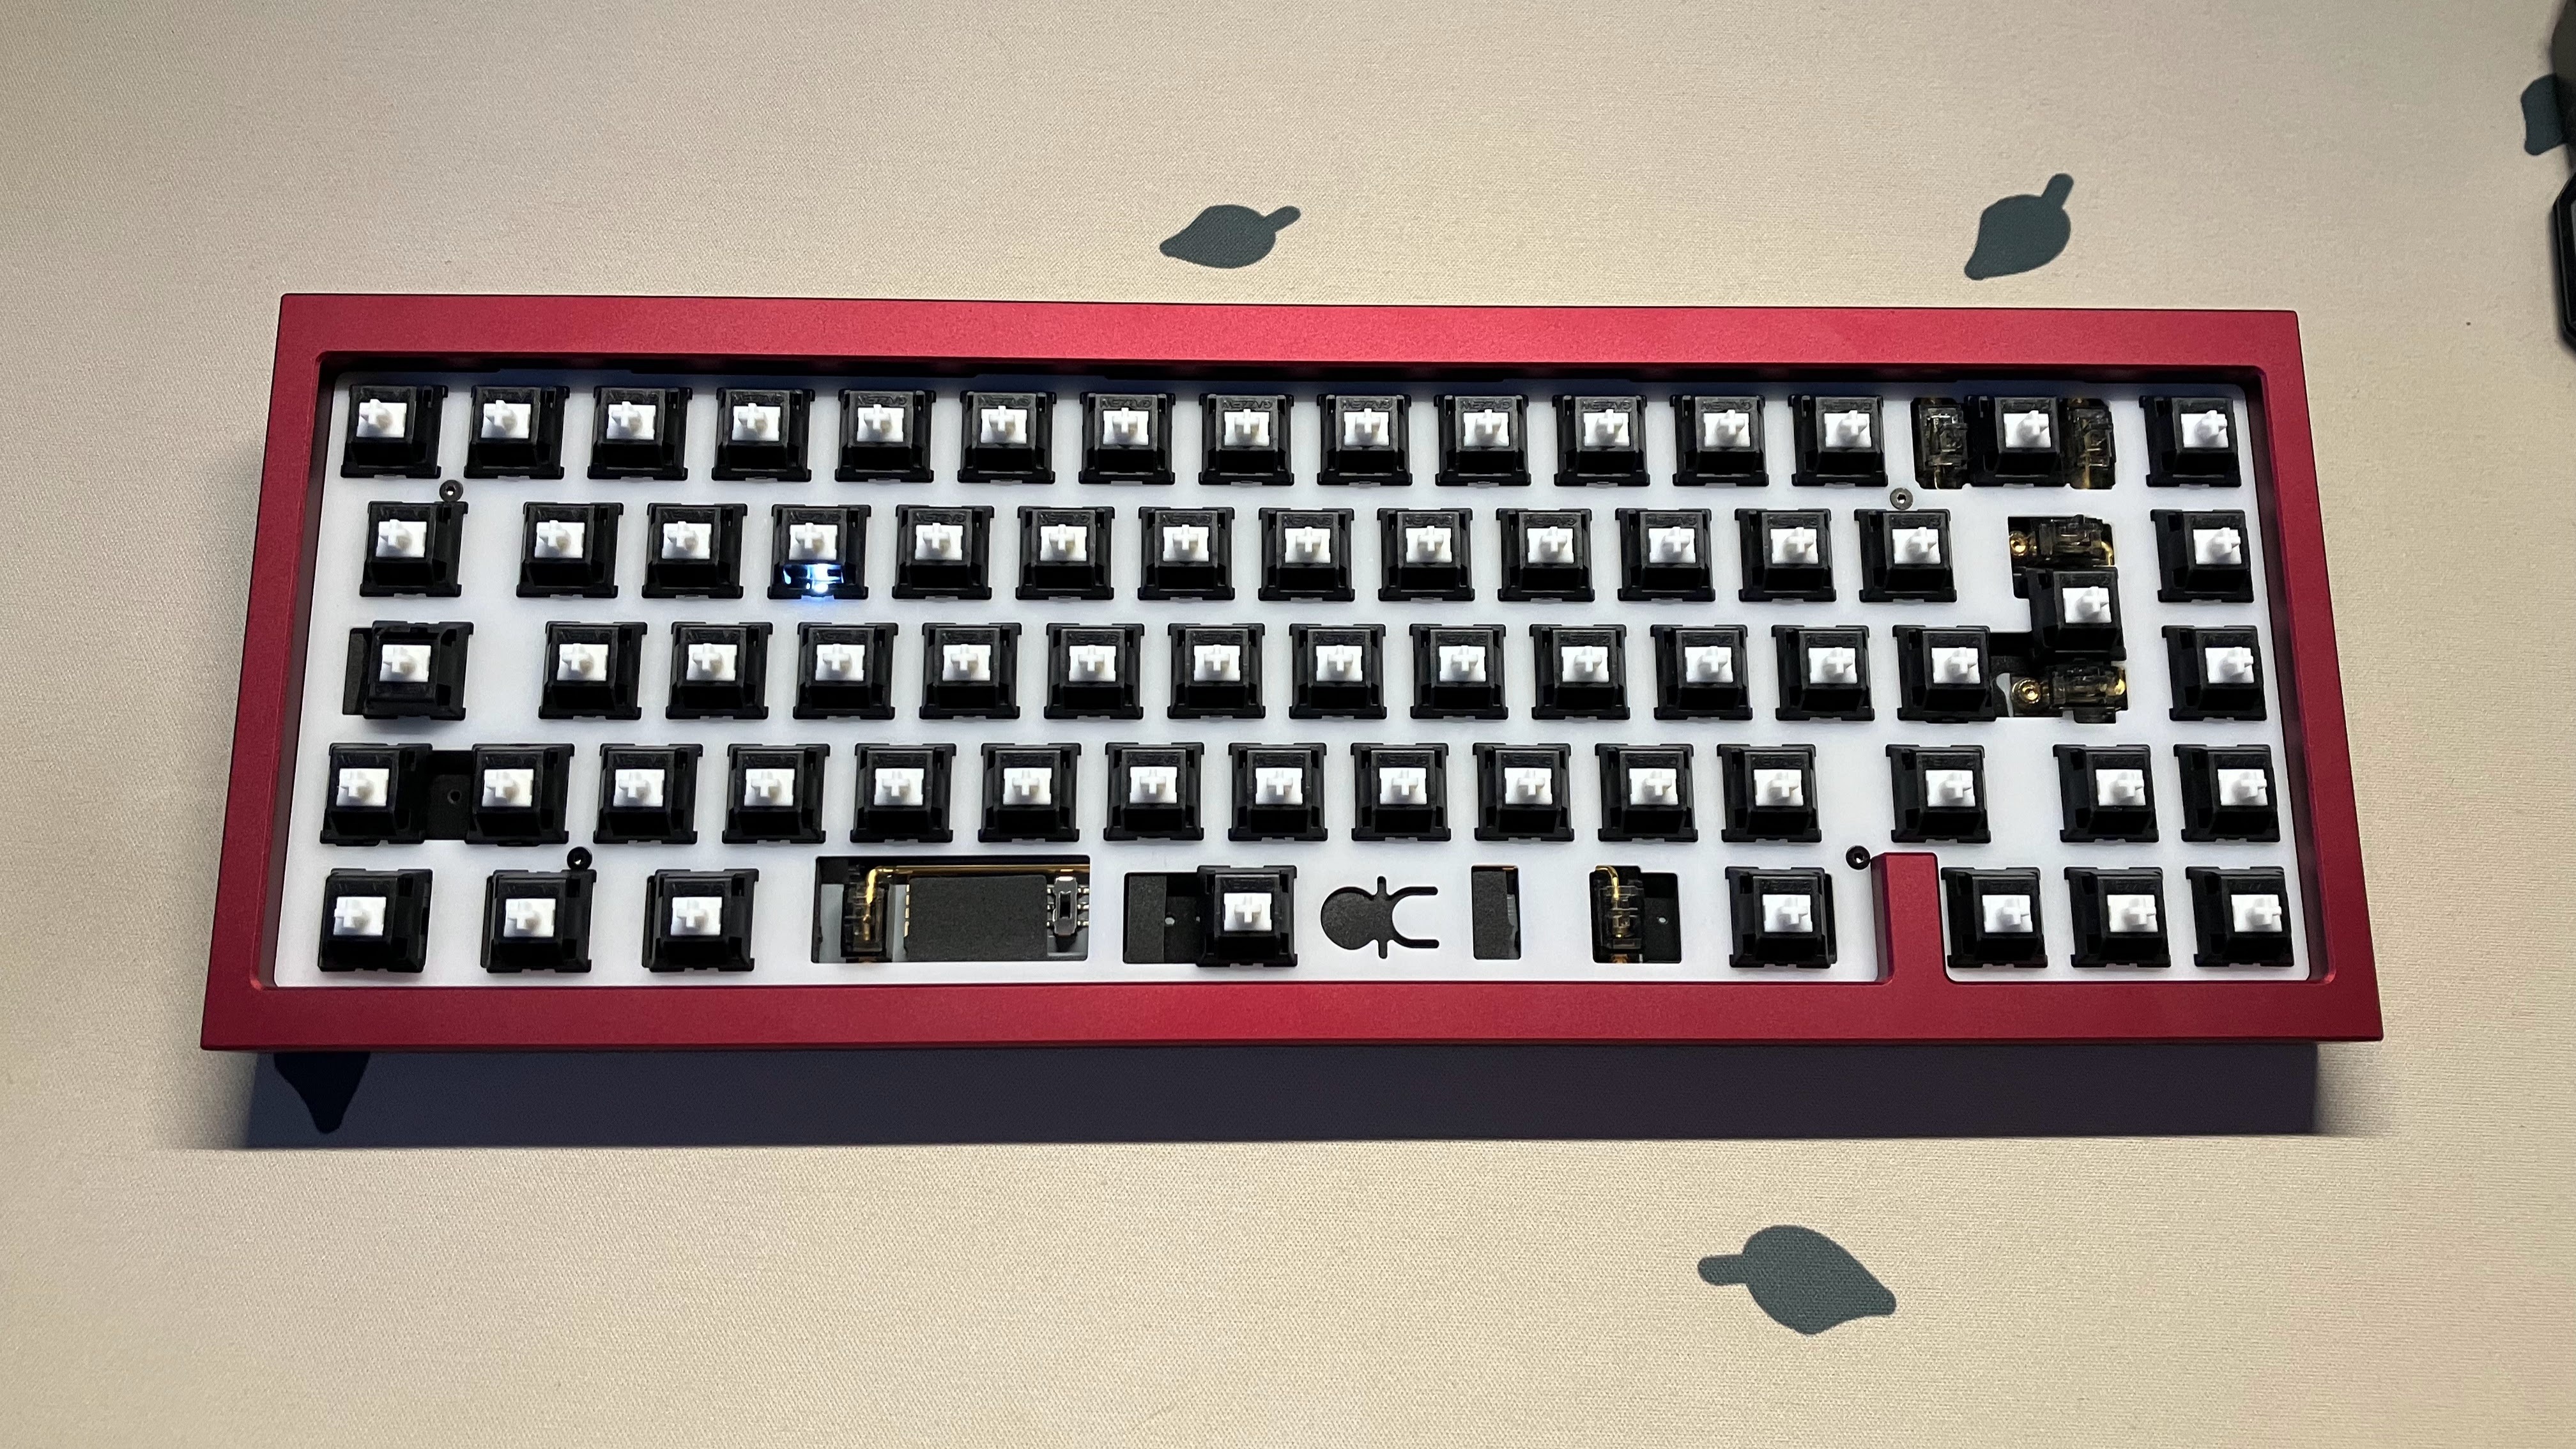
Happy with the way my stabilizers sound, I can start putting the switches on.
I went with Gazzew Boba U4 Switch 62g I bought from from Eloquent Clicks for their tactileness and silence.
Because the PCB is hotswap, you have to be careful when inserting switches not to pop the sockets out: hold the sockets with one hand and push the switch in. Make sure you’re aligned and always keep the switch vertical to avoid bending the pins, don’t forget to check that the 2 pins are in. If you ever spot a bended pin, simply pull the switch out, straighten it and retry carefully.
Insert switches starting with the four corners and push the plate up after each switch is plugged in.
Then continue by making a grid in the center and finally fill in all the missing switches.
Plug the board in to your computer and start testing all switches with the QK Keytest software before continuing assembly!
Assembly
Now that all electronic parts are assembled, we can finish the build by placing the PCB inside the keyboard case.
Inside the case, the PCB is mounted on gaskets. The QK65 comes with two different types: socks and jackets.
I chose socks for their softer writing feedback compared to jackets.

Pass the battery cable through the hole in the silicon dampener, tuck the battery in the middle hole and place it at the bottom of the case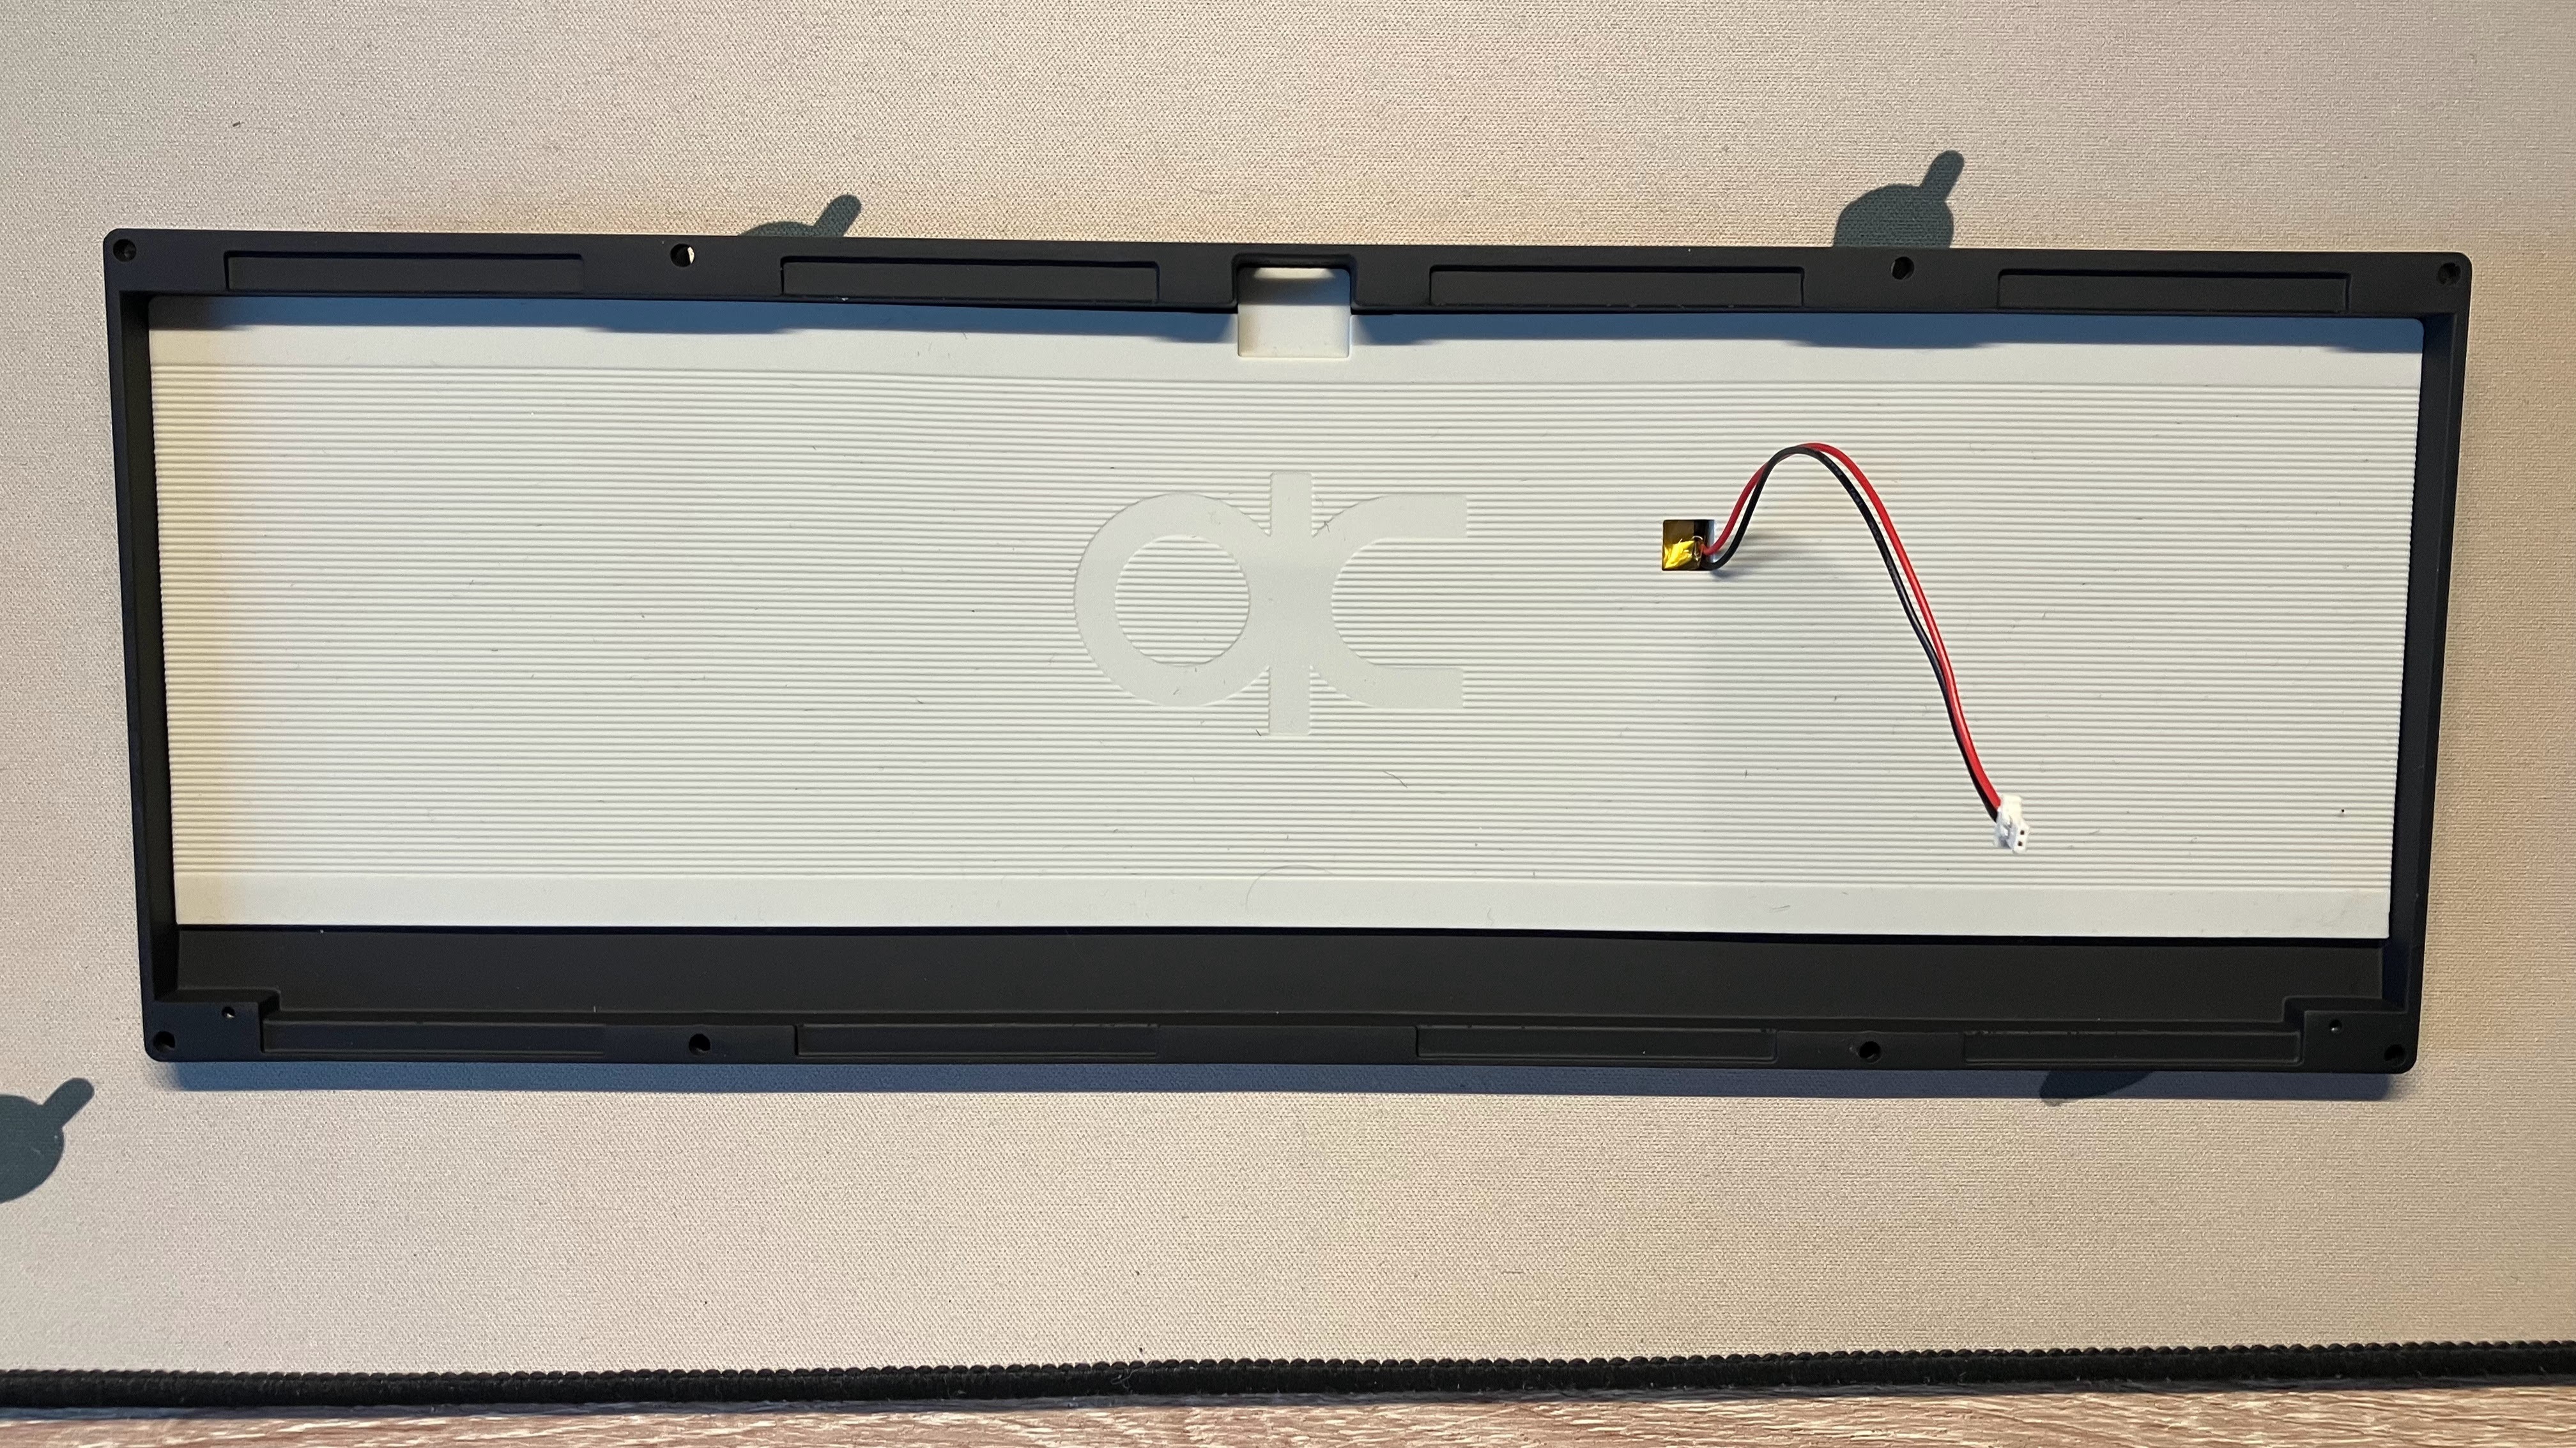
Optionally apply the case foam on the board before connecting the battery cable with the PCB.
Finally rest the PCB on the bottom case. It didn't fit for me because of all the foam overflowing from the plate, so I had to tuck it inside with a pair of tweezers.
I then screwed back the top and bottom case together, being careful with the screw length: top ones are longer than bottom row and also extra careful not to wear screw heads.
Finally, I put the rubber feet in, which was a bit of a challenge given how tight they are!
 |  |
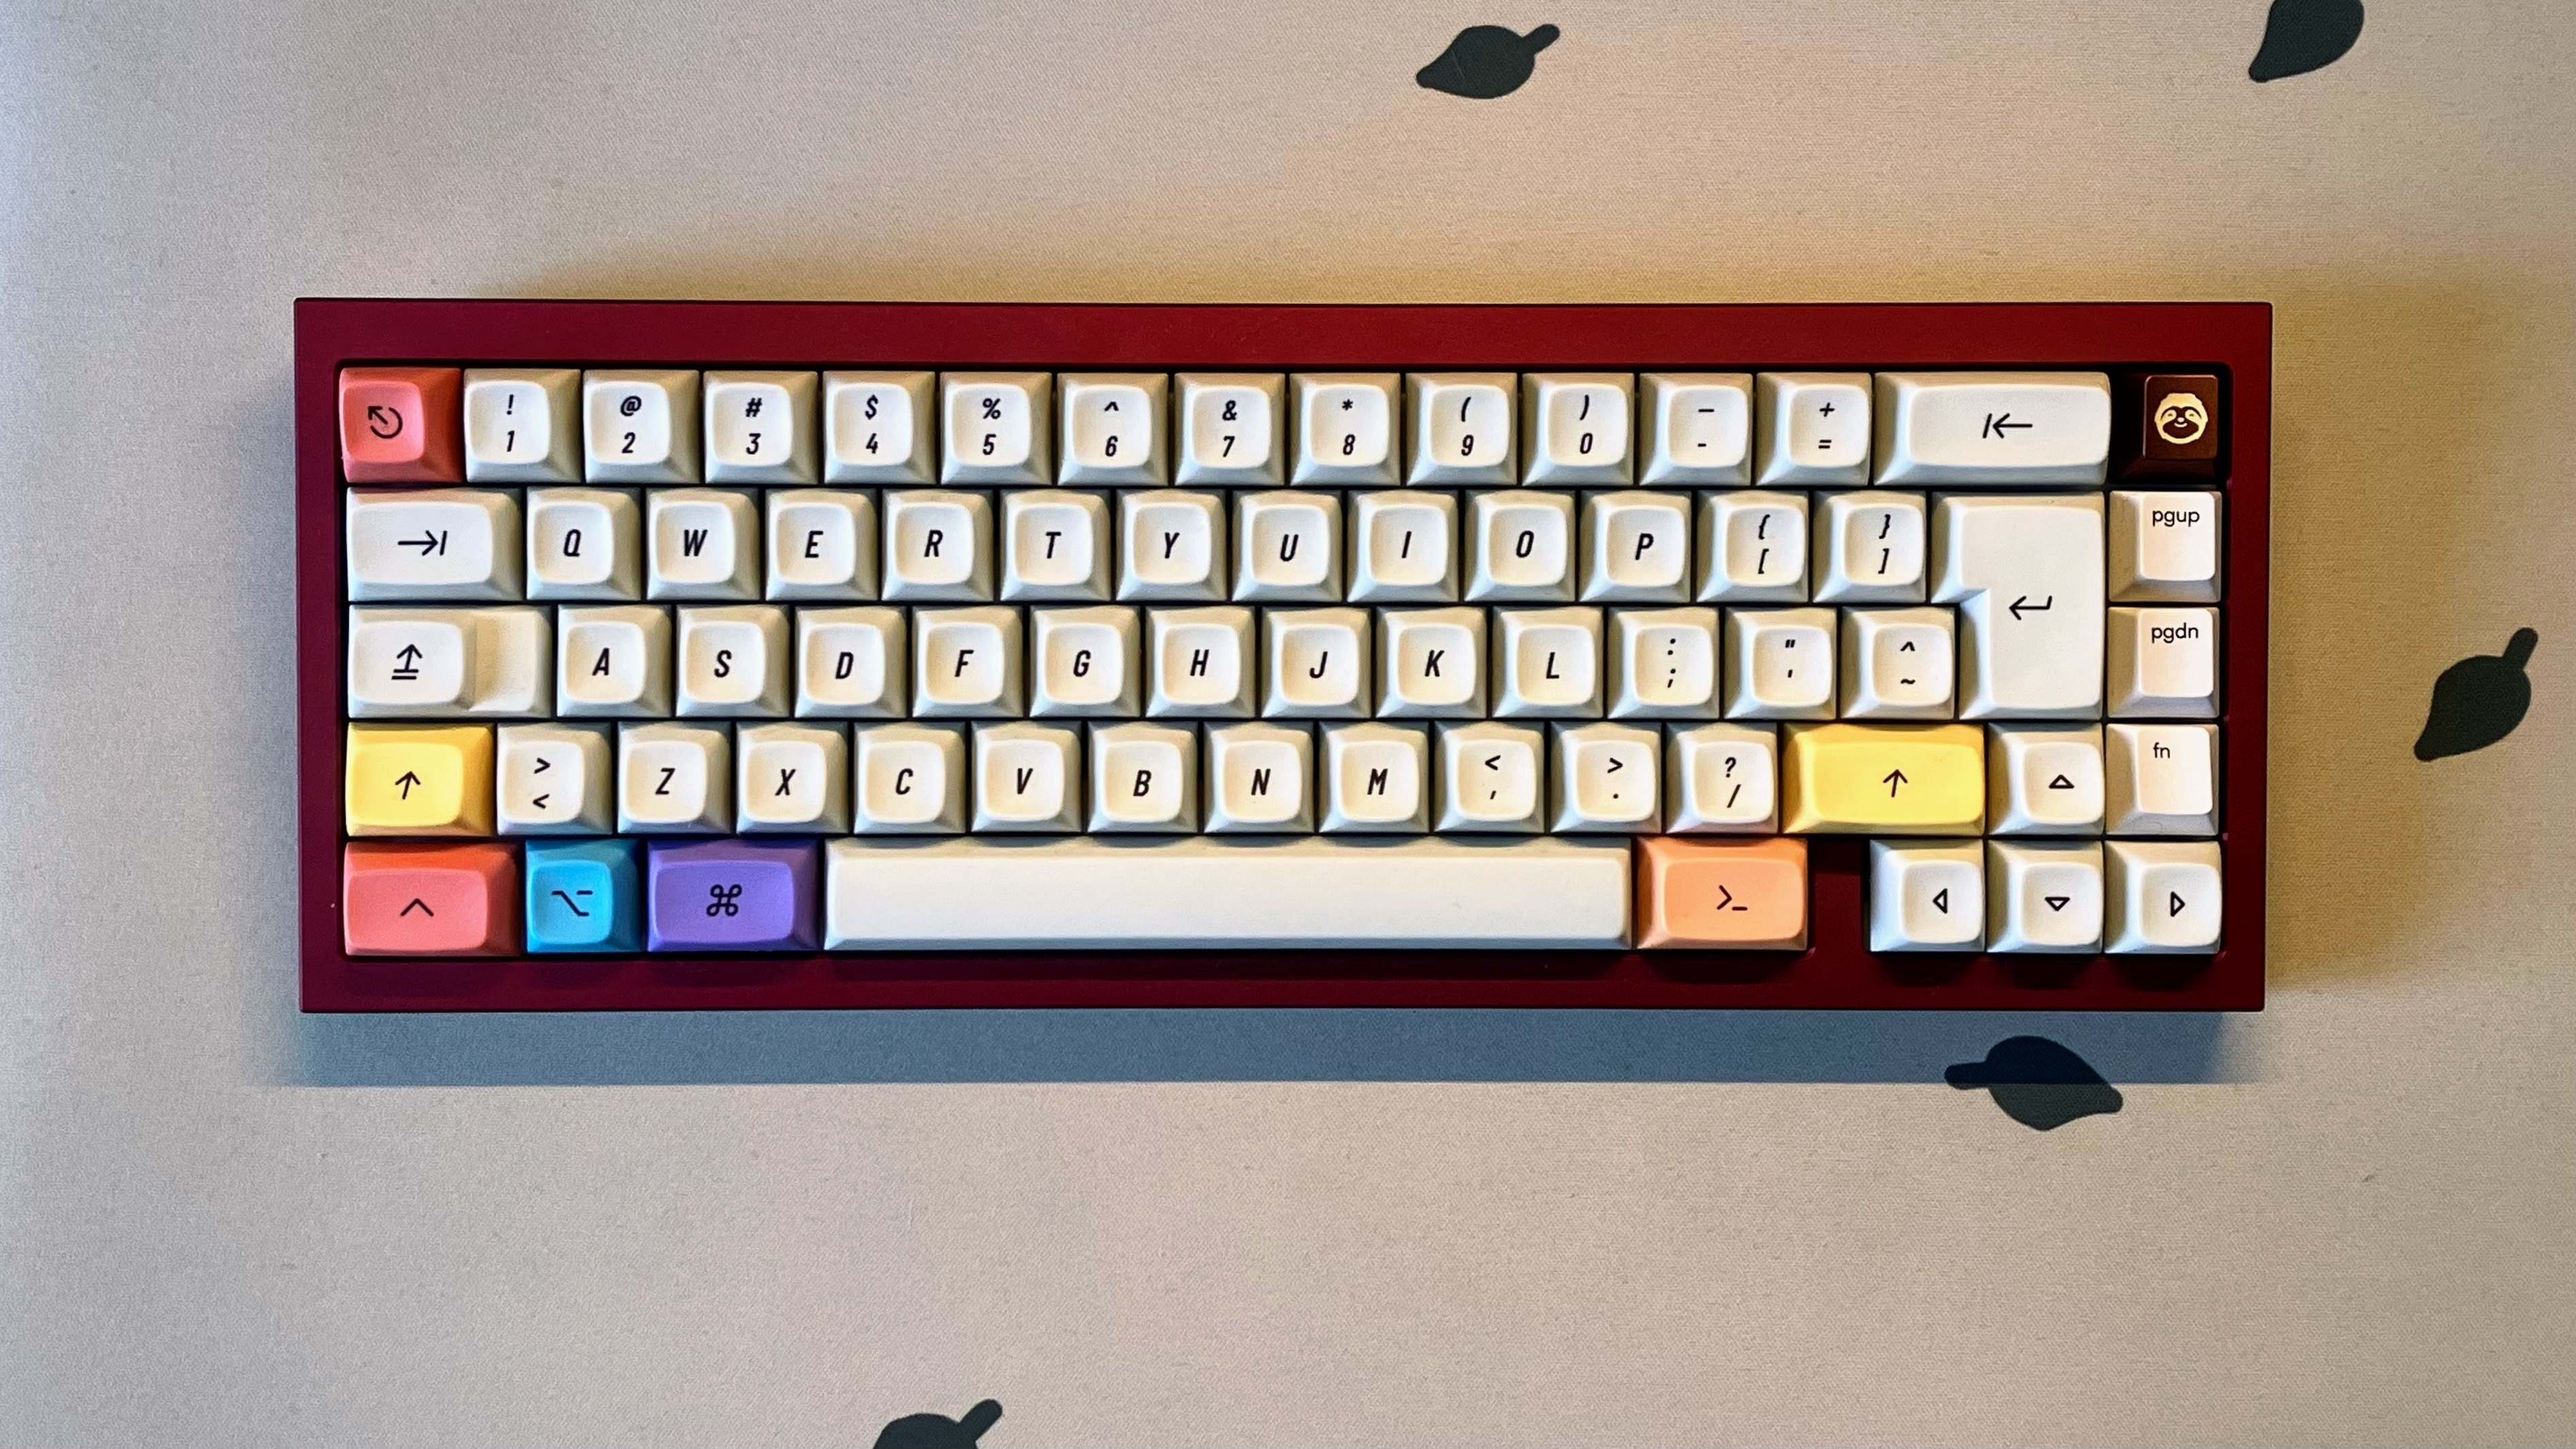
And I finish off the build with keycaps.
For this keyboard, I ordered Drop MT3 2048 with accent modifiers and you can see the result below.
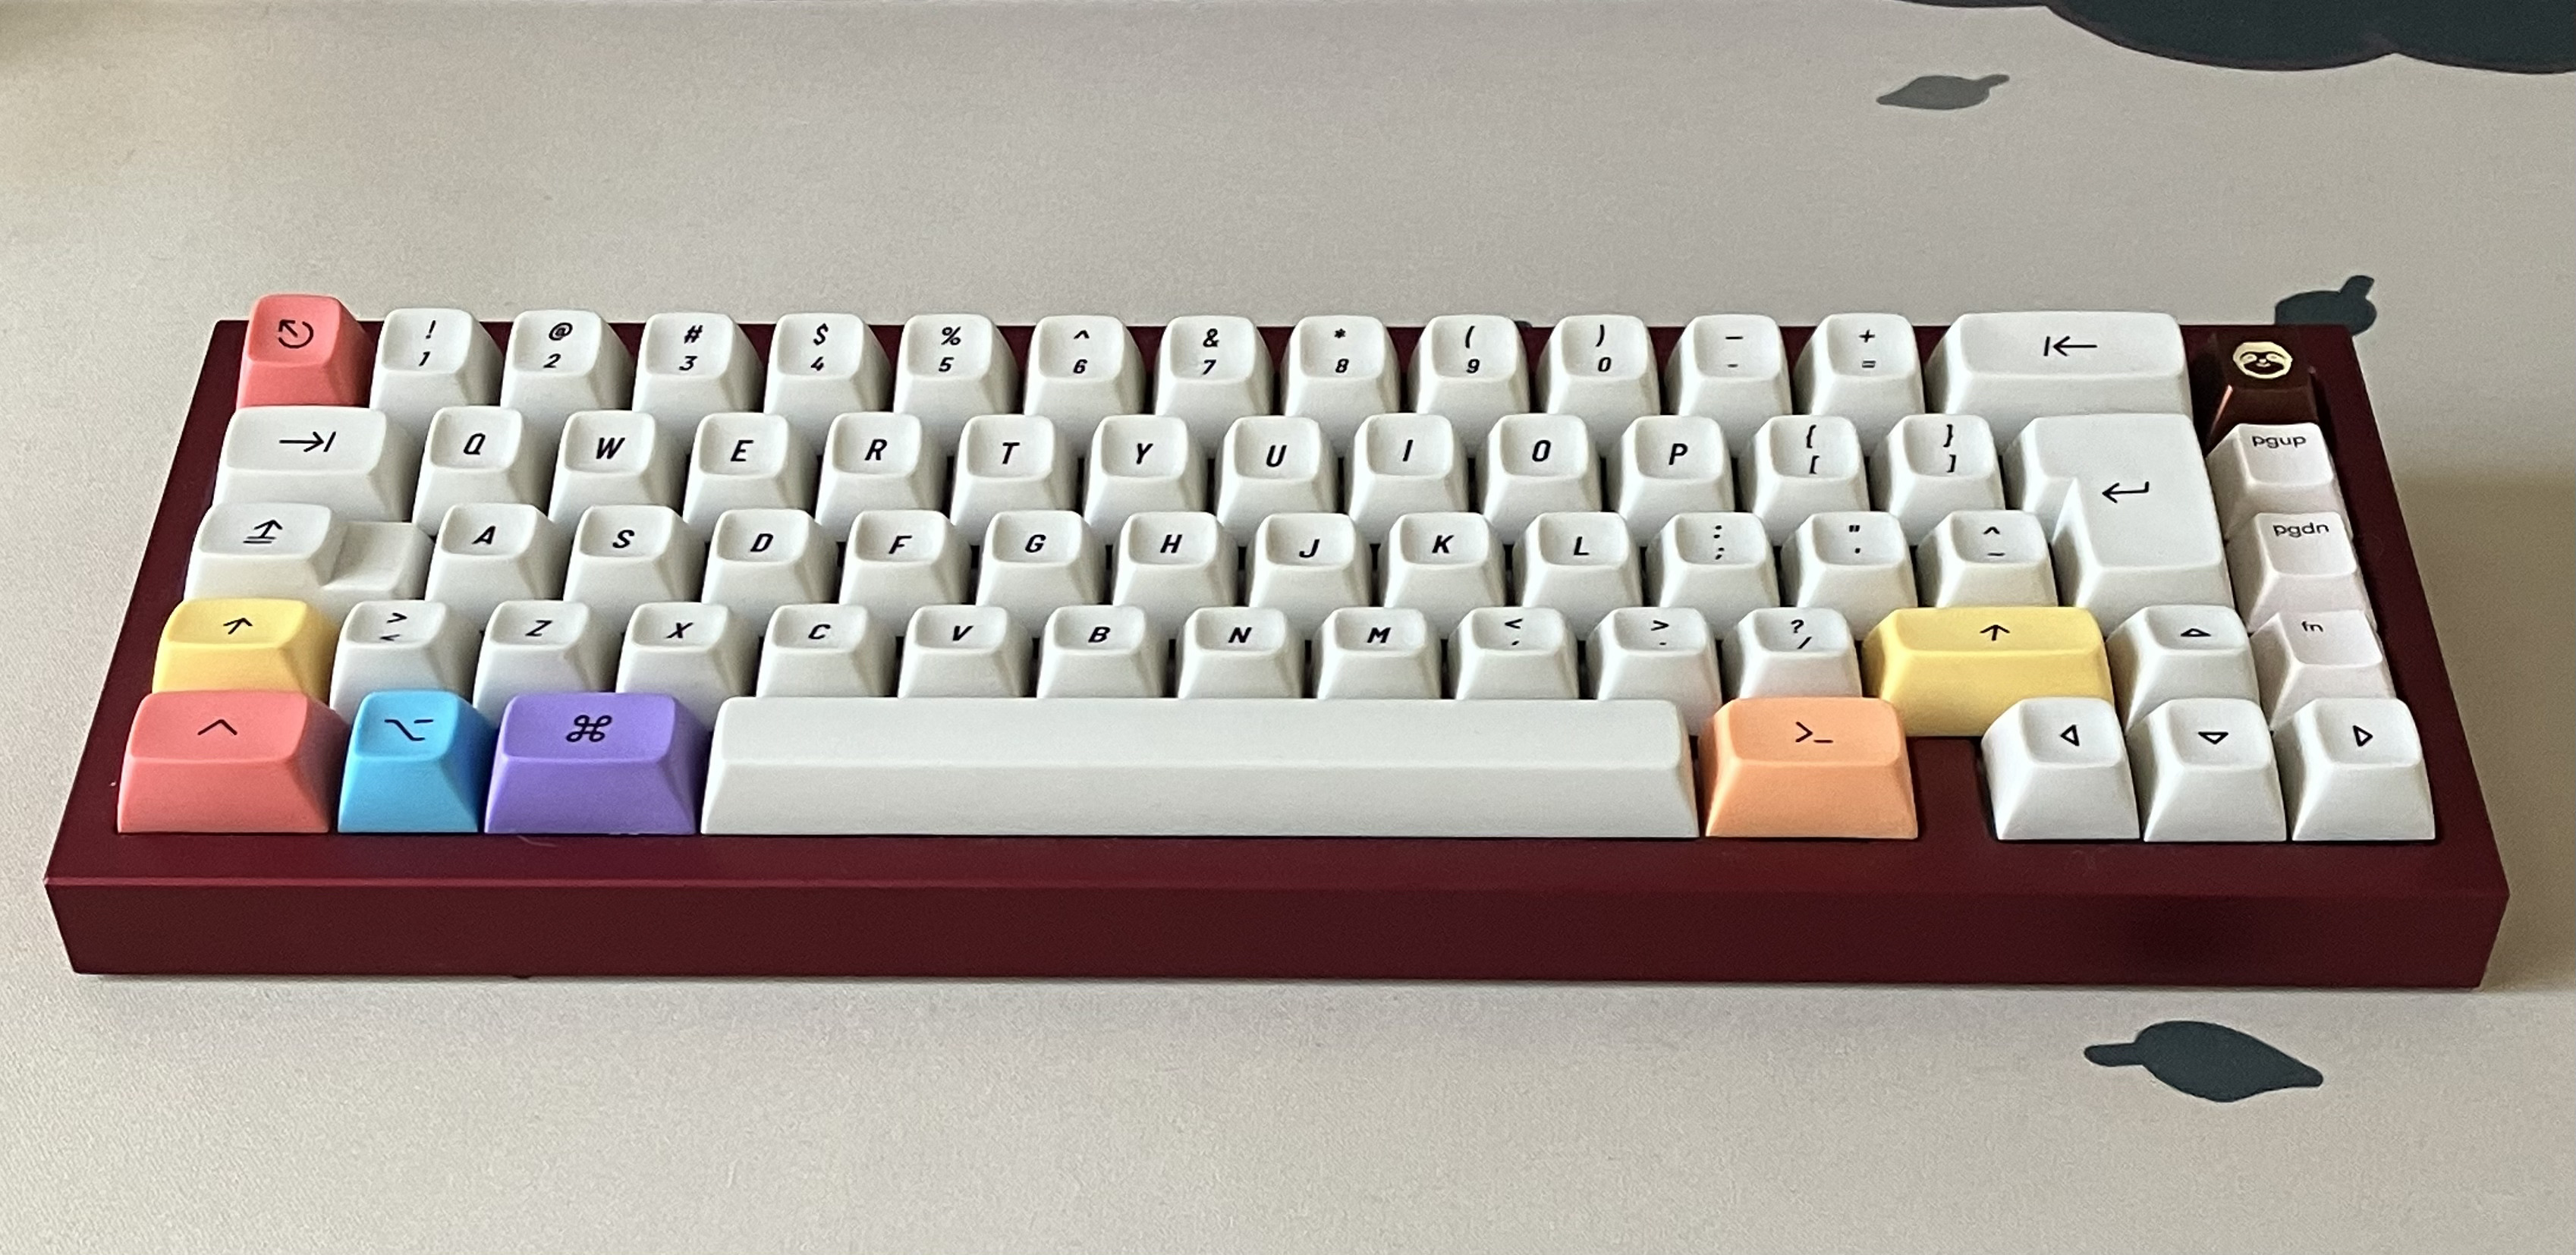
This was actually an unexpected hard part because of the layout: the PCB is ISO because I wanted to build an AZERTY (french) keyboard when I ordered it, but then I realised I was used to the Apple variant of the FR layout that I had both on my laptop and my Keychron Q1.
I could eventually swap the keycaps with the Q1 but I wanted to used the MT3 2048, so I thought this was the opportunity to get used to the ISO international layout which seems really convenient for programming but I am missing the ISO UK add-on on the 2048 set…
Finally also had a surprise when removing a keycap and finding the the switch below attached.
I guess the keycaps are really tight so I don’t want to switch them all yet without getting the PCB out of the case to avoid messing too much with the hotswap sockets.
And that’s it! I hope you enjoyed reading about my build process and maybe even found some useful tips for your own custom mechanical keyboard build.
Full specs
- Qwertykeys QK65 R2 ISO PCB, tri-mode wireless
_ Red top case, white weight
_ POM Plate
_ PE Sheet
_ PCB Foam with standoffs
_ Case foam
_ Silicone dampener
_ Gaskets socks - Everglide v2 screw-in stabilizers
- Gazzew Boba U4 Silent 62g Black x70 switches lubed
- Keycaps MT3 extended 2048 (alpha, modifiers, international, accent)
